

Overview
Alex connects to Greenhouse in two ways, and most customers use both:Greenhouse retired Harvest API v1 and v2 on August 31, 2026. Alex now connects through Harvest v3, authorized
through Kombo, our unified integration provider. Harvest API keys are no longer used — if you have a key saved in
Alex from before the migration, it is inert.
Step 1: Authorize Harvest v3
Alex connects using the Harvest v3 API. Rather than creating and sharing an API key, a Greenhouse user authorizes the integration directly — there is no Harvest API key to generate or paste.-
Log in to Alex as an admin and go to Settings → Integrations → Connect your ATS, then select Greenhouse.
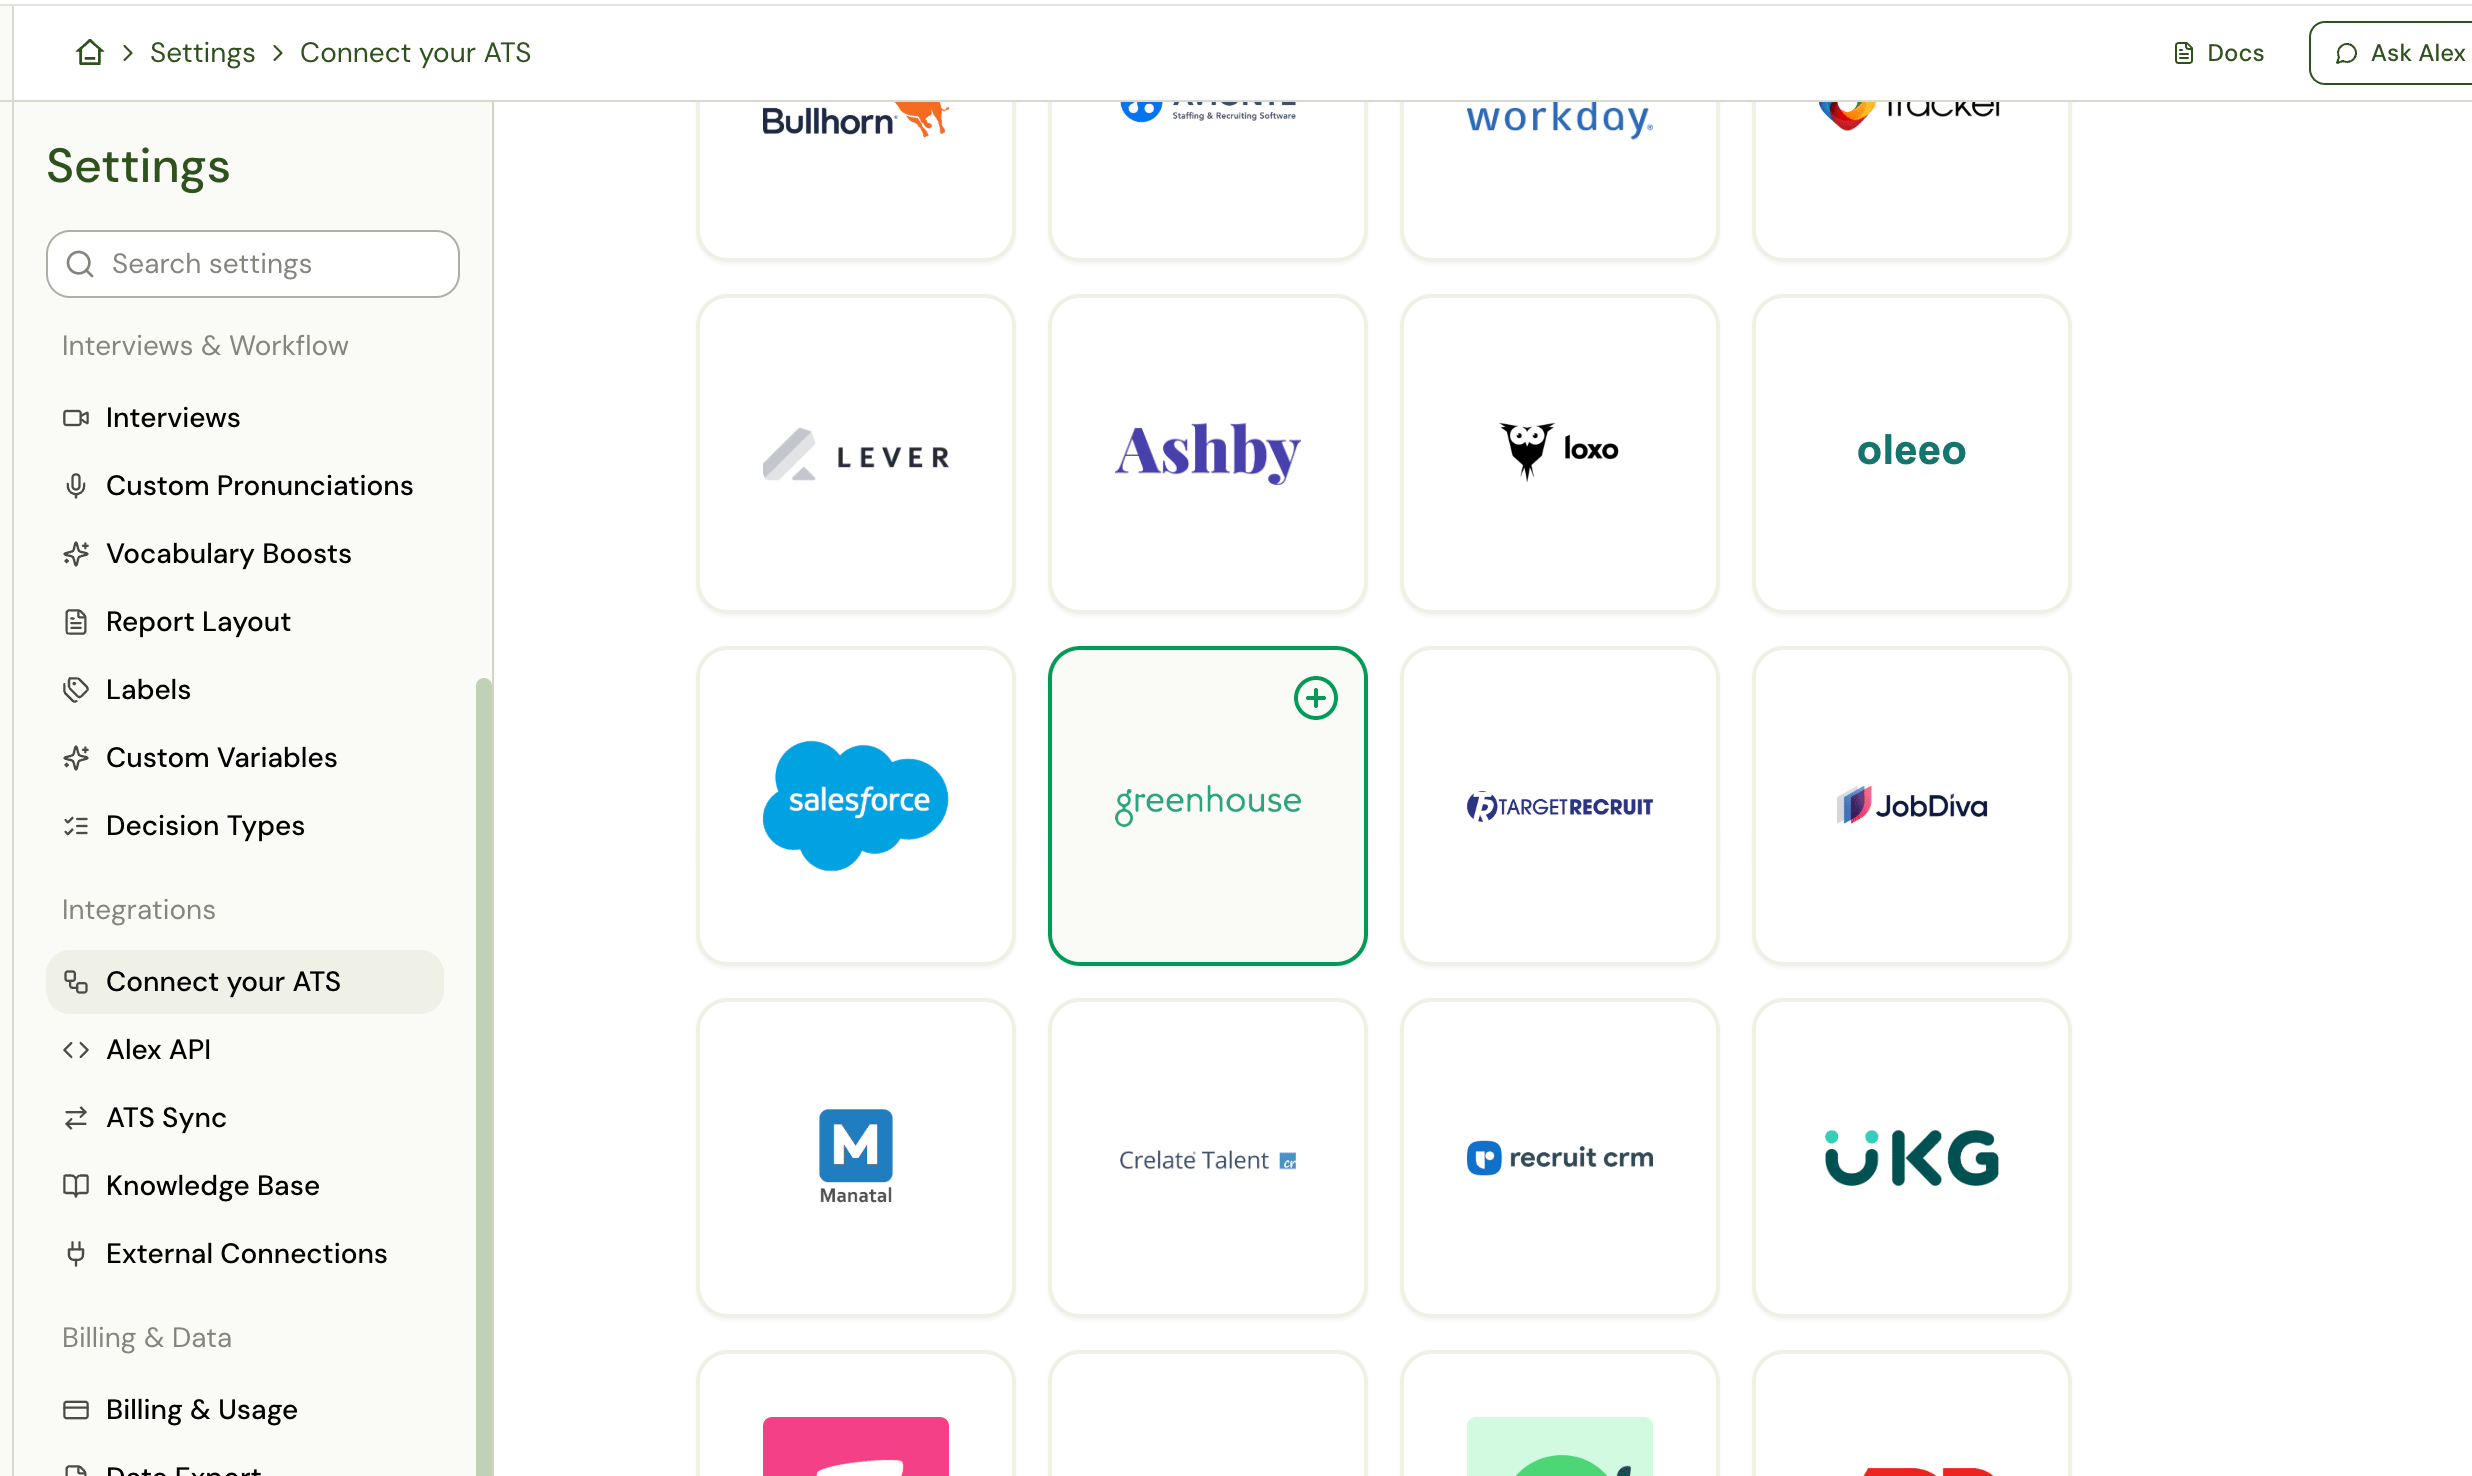
- In the Harvest API v3 section, click Authorize Harvest v3.
-
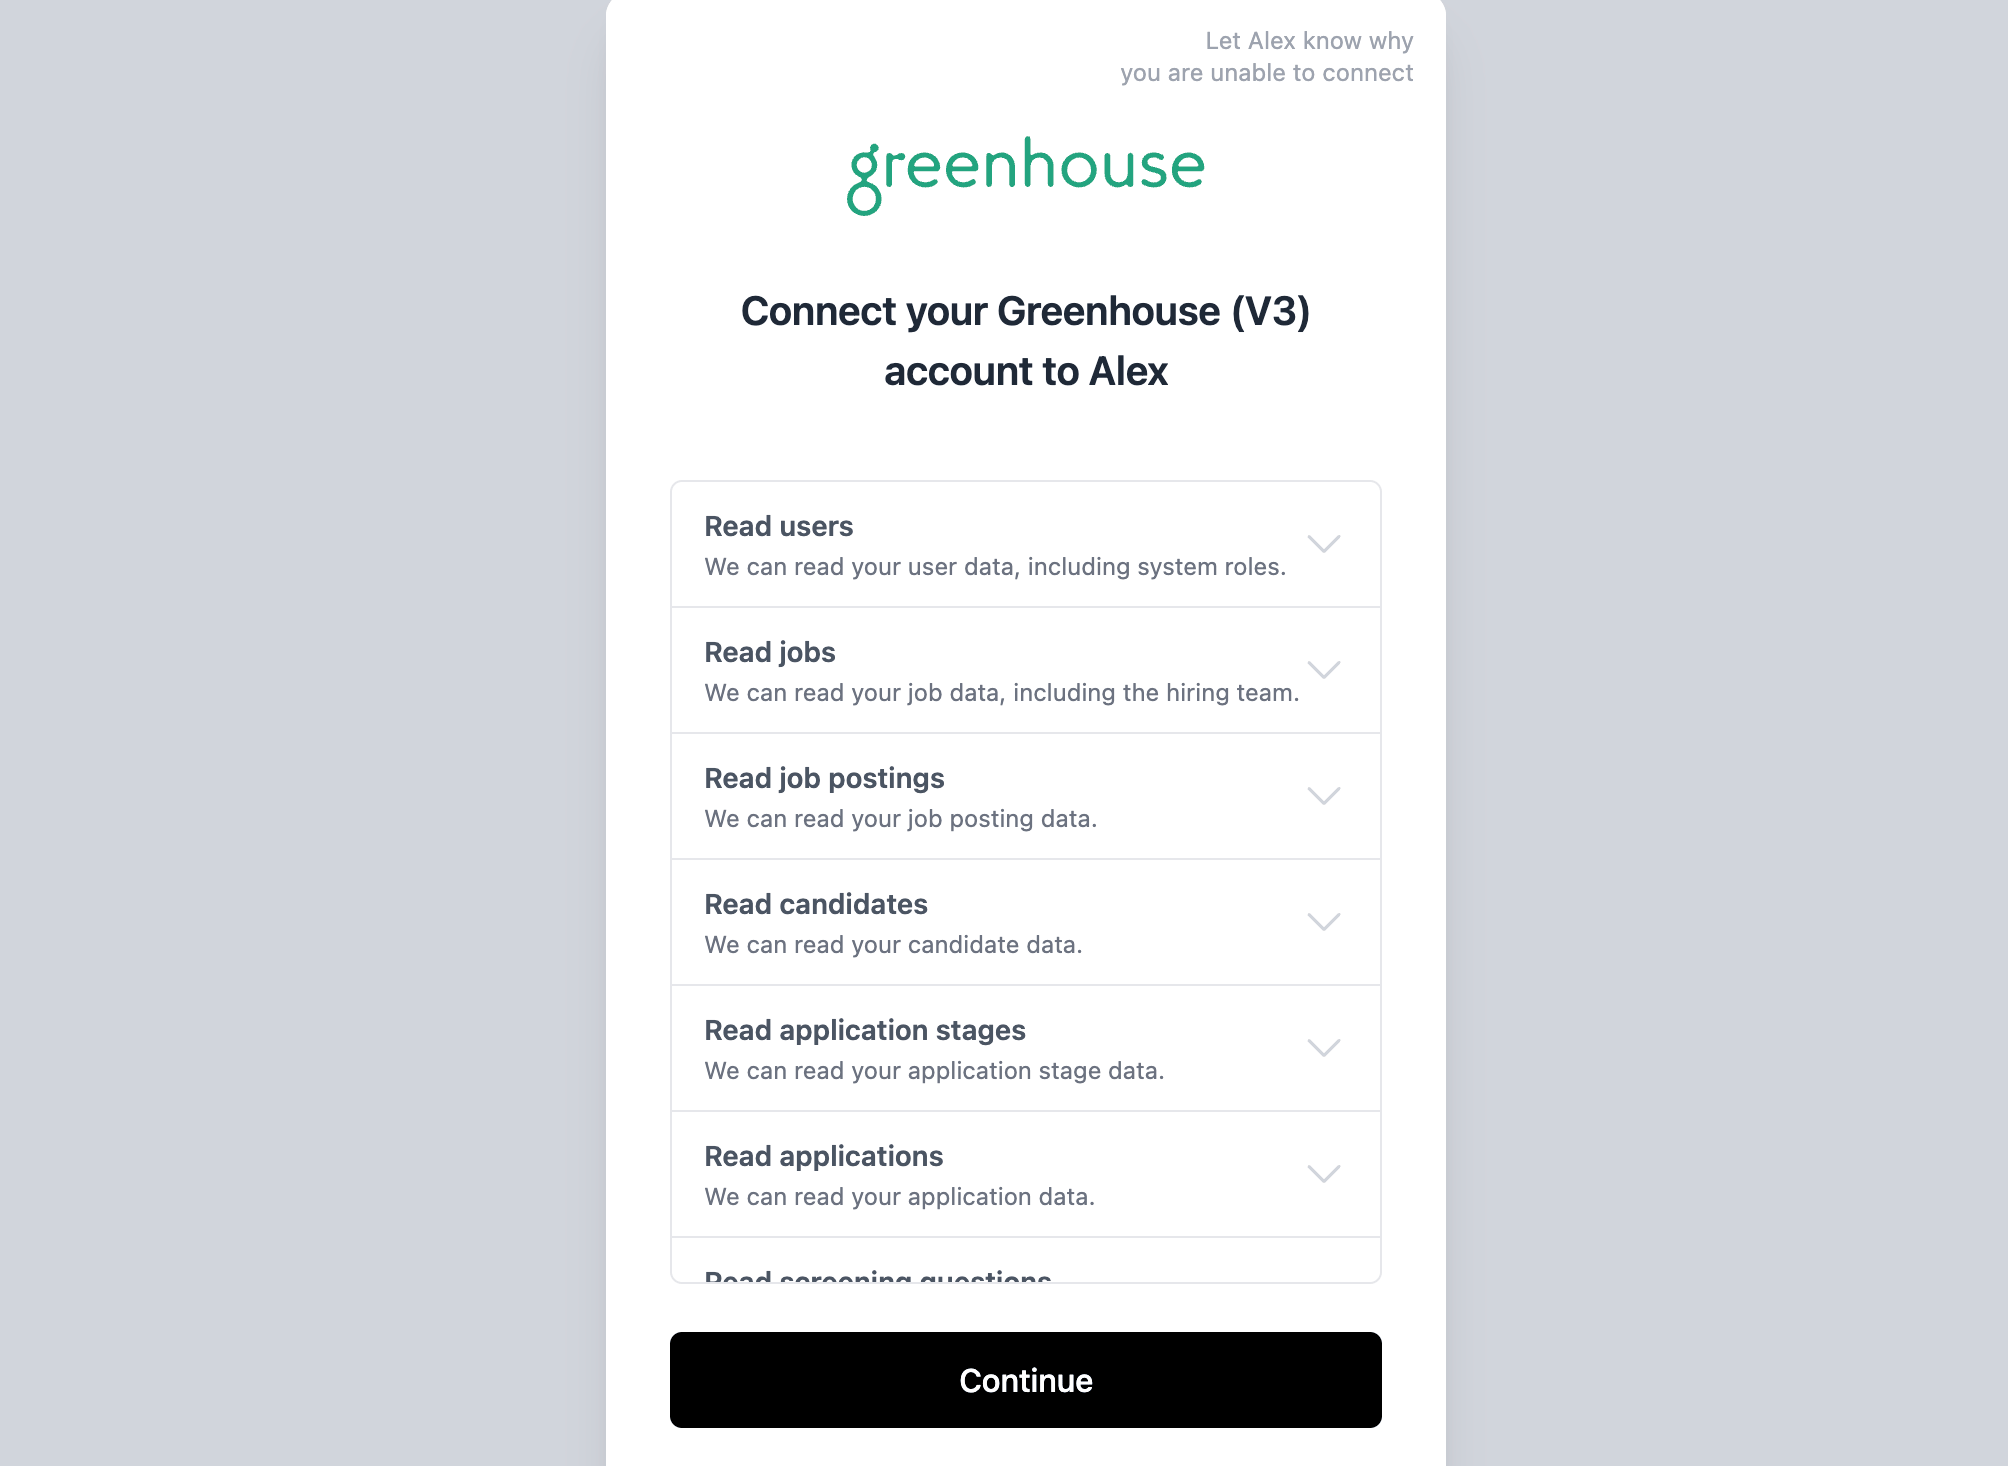
Kombo, our integration partner, opens and asks you to connect your Greenhouse (V3) account. Click Continue.
-
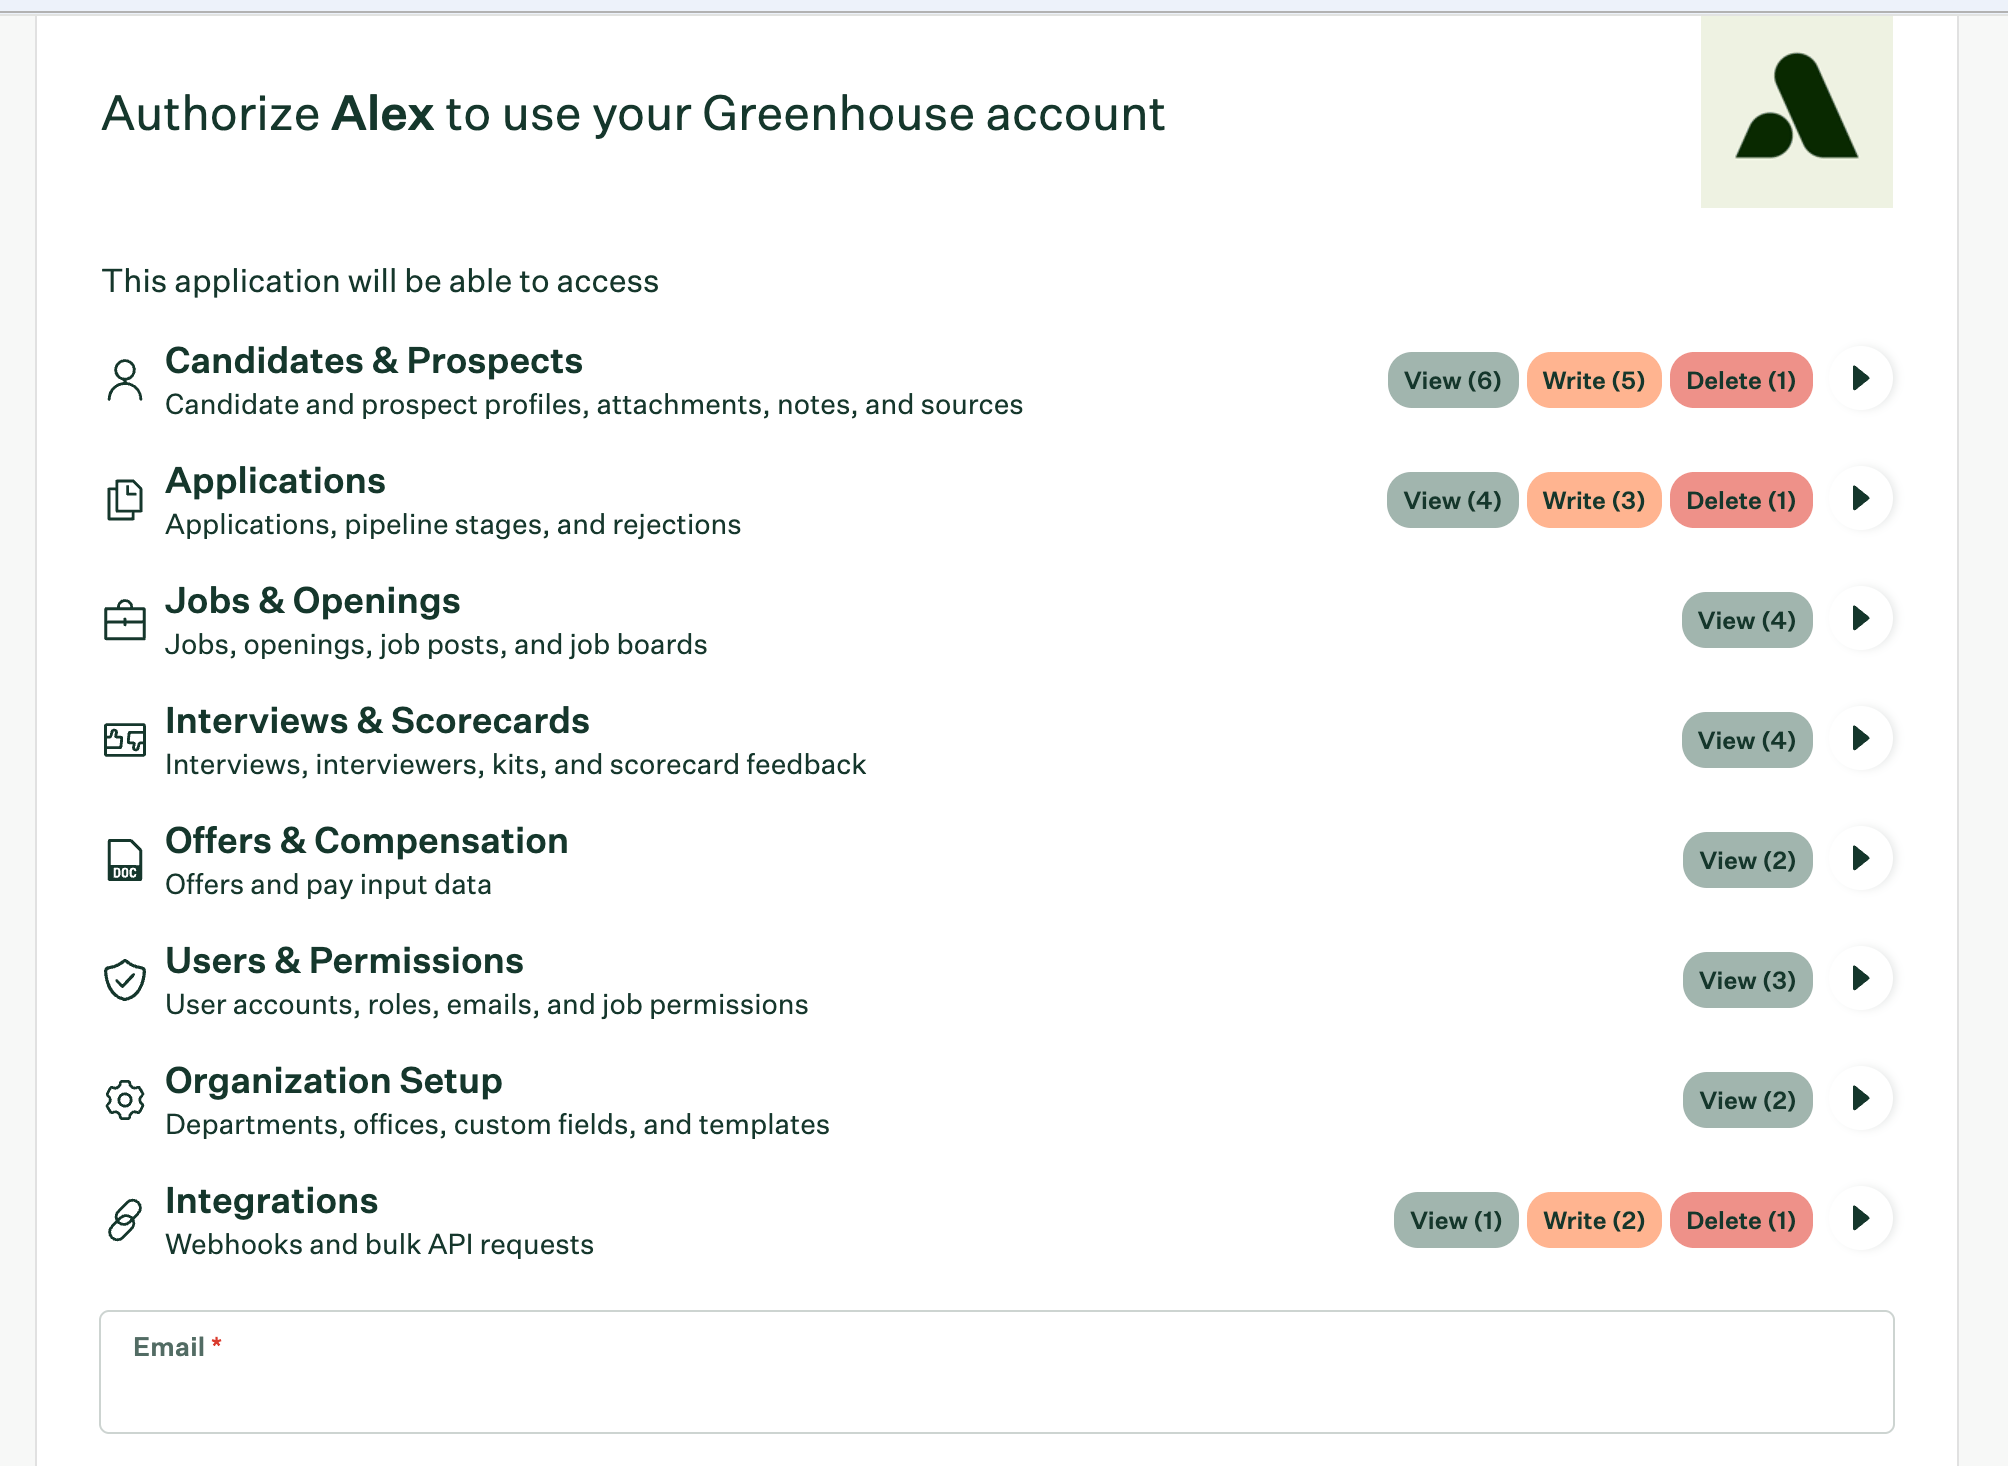
Sign in to Greenhouse as a Site Admin. Greenhouse then asks you to authorize Alex — review the access and approve.
-
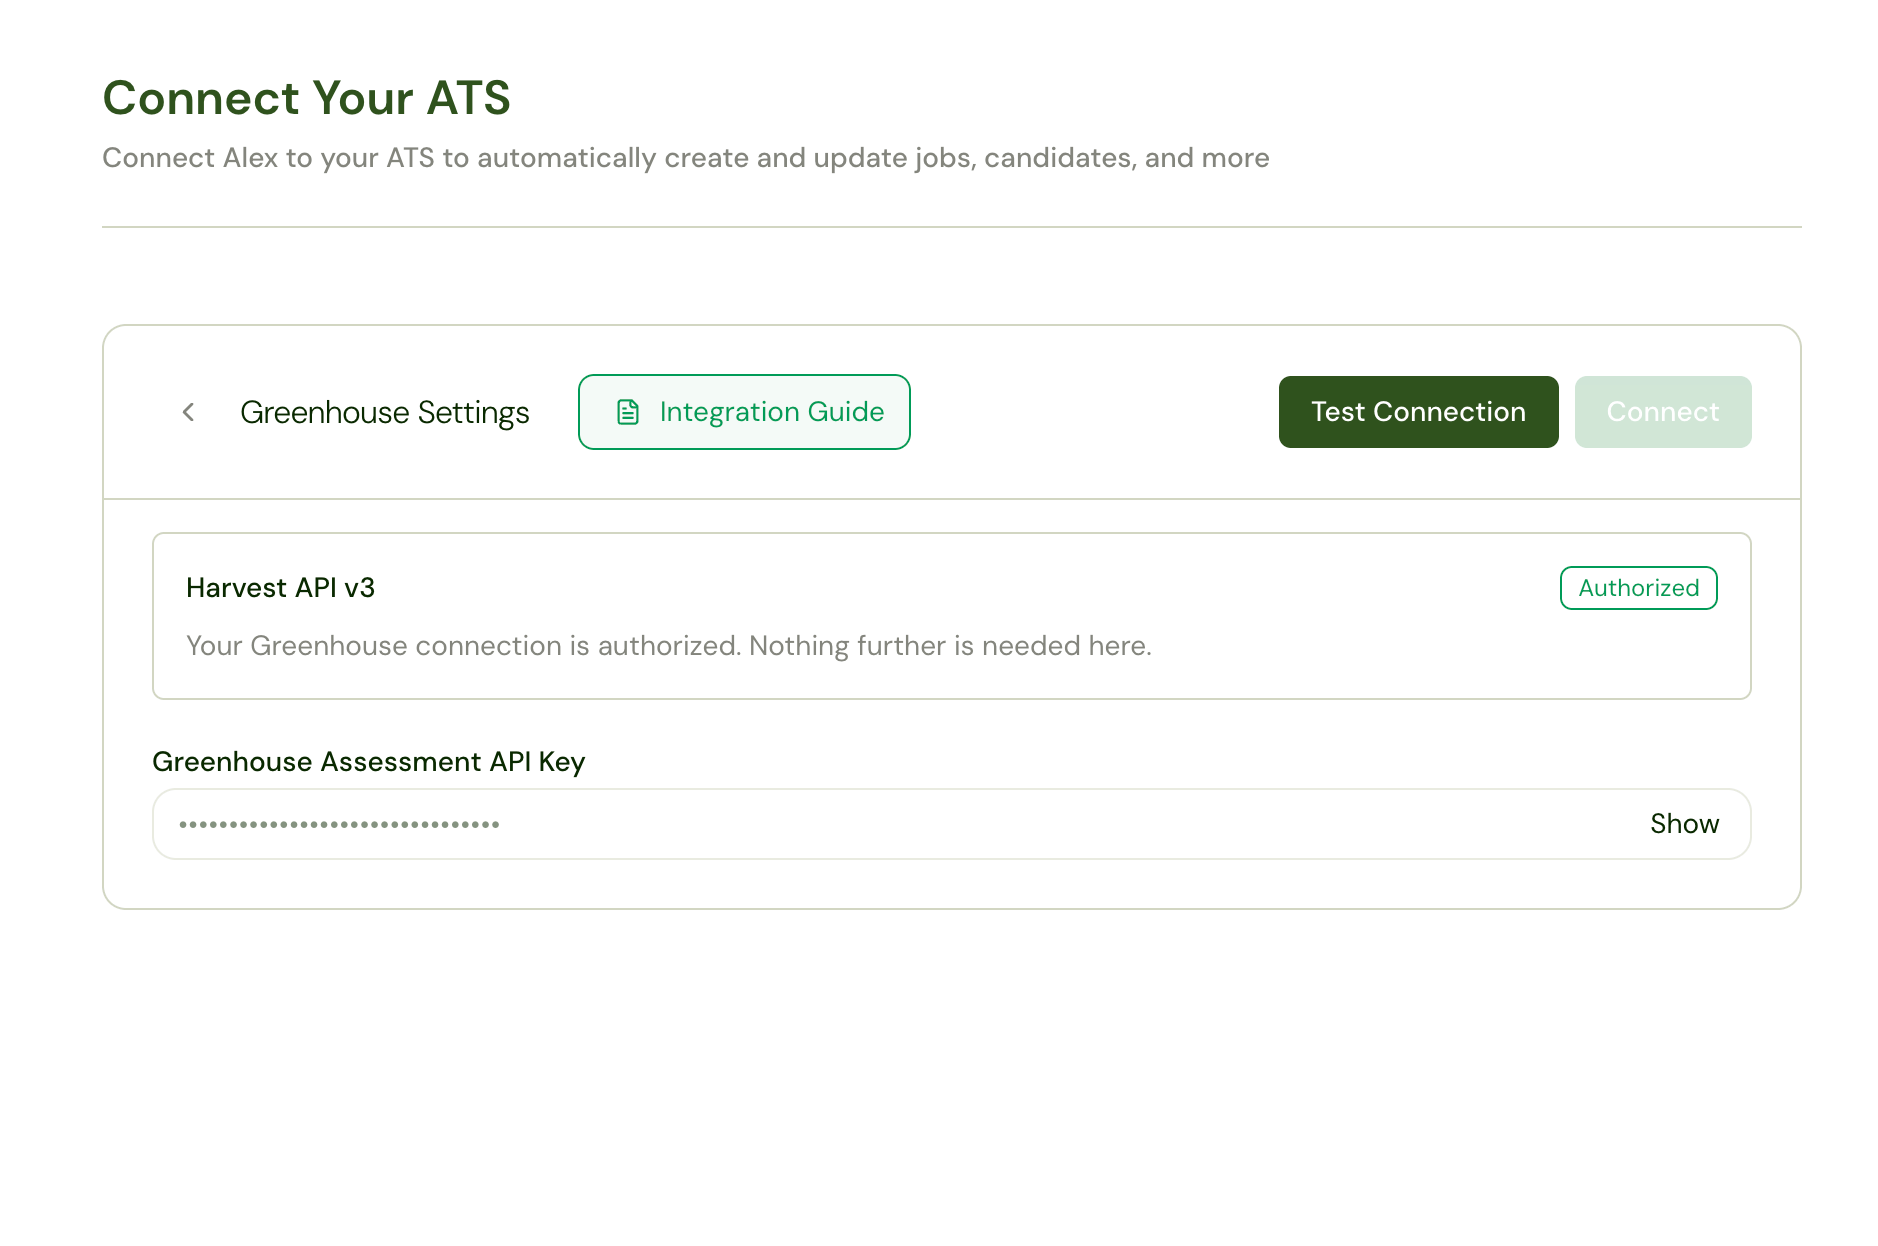
You are returned to Alex — about 30 seconds — and the Harvest API v3 section shows Authorized. Your
Greenhouse Assessment API Key is generated at the same time; you will need it in Step 3.
Why the permission list looks broader than you expect. Greenhouse’s authorization screen grants the standard
connector’s full permission set — including Write and Delete on candidates and applications. That set is fixed
by the connector and is not something Alex selects or can narrow.What Alex actually uses is much smaller: it reads jobs and job posts, reads candidates and applications, moves
applications between stages, rejects applications, adds notes to candidates, and reads users. Alex never deletes
candidates, applications, or any other Greenhouse record.
Step 2: Configure your workflows
Once the first sync finishes, Greenhouse data flows into your workflows.Automated job import
When a job is opened in Greenhouse, Alex imports it and runs your job workflow — generating an interview template from the job’s title and description. Add the New Job from ATS trigger to your job workflow to choose which Greenhouse fields populate the job title, description, and jobs-list columns, and use Filter by Job nodes to route different kinds of jobs to different interview templates. Filter by Job can branch on title, status, requisition ID, confidentiality, department, office, location, and the job’s created / updated / opened / closed dates — plus board status, which isAll Online when the job has at least one
live job post and Offline otherwise.
Manual job import
You can also import a single job on demand: when creating a job in Alex, choose Import from ATS and paste the Greenhouse job ID. This option appears once the Kombo connection has finished its first sync.Automated interview invites
When a candidate applies in Greenhouse, Alex picks up the application, creates the candidate, and fires the New Application trigger in your application workflow — typically inviting the candidate to an interview by email or SMS. Filter by Application and Filter by Candidate nodes let you narrow which applicants get invited.Write-backs to Greenhouse
Workflow action nodes let Alex update Greenhouse as candidates progress:Harvest v3 requires a rejection reason on every rejection. When you configure a Reject Application node, pick a
reason from the dropdown — it loads your own Greenhouse rejection reasons plus Greenhouse’s defaults. A node saved
without one cannot complete the rejection.
Step 3: Add the Alex interview stage
The Alex stage is a separate connection from Harvest, and it is what lets recruiters send interviews from inside Greenhouse and read Alex reports in the Interview Kit.- In Alex, go to Settings → Integrations → Connect your ATS → Greenhouse and copy your Greenhouse Assessment API Key. Alex generates this key automatically once your Greenhouse connection is authorized.
- Send the key to Greenhouse support or your Greenhouse Account Manager, and ask them to enable the Alex interview stage. This can take 24–48 hours.
- Once enabled, an Alex stage becomes available in your Greenhouse interview plans.
Add the stage to a job
- Go to the job in Greenhouse.
- Go to Job Setup > Interview Plan > Add stage.
- Select Alex from the list of stages.
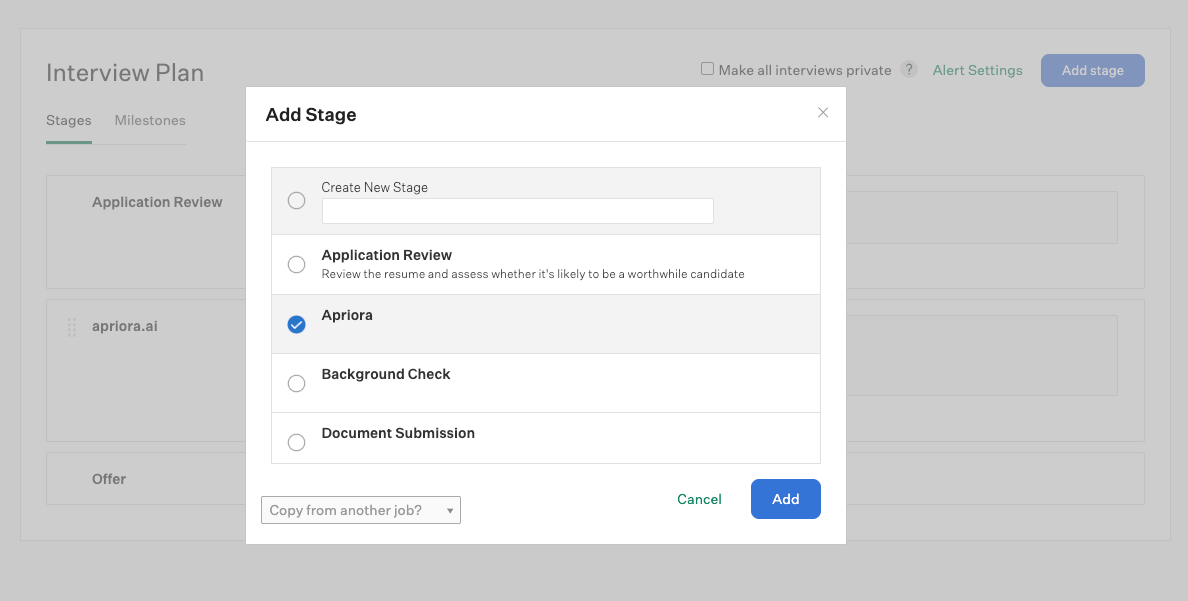
- Drag the Alex stage to any position within the interview plan. The job pipeline updates automatically.
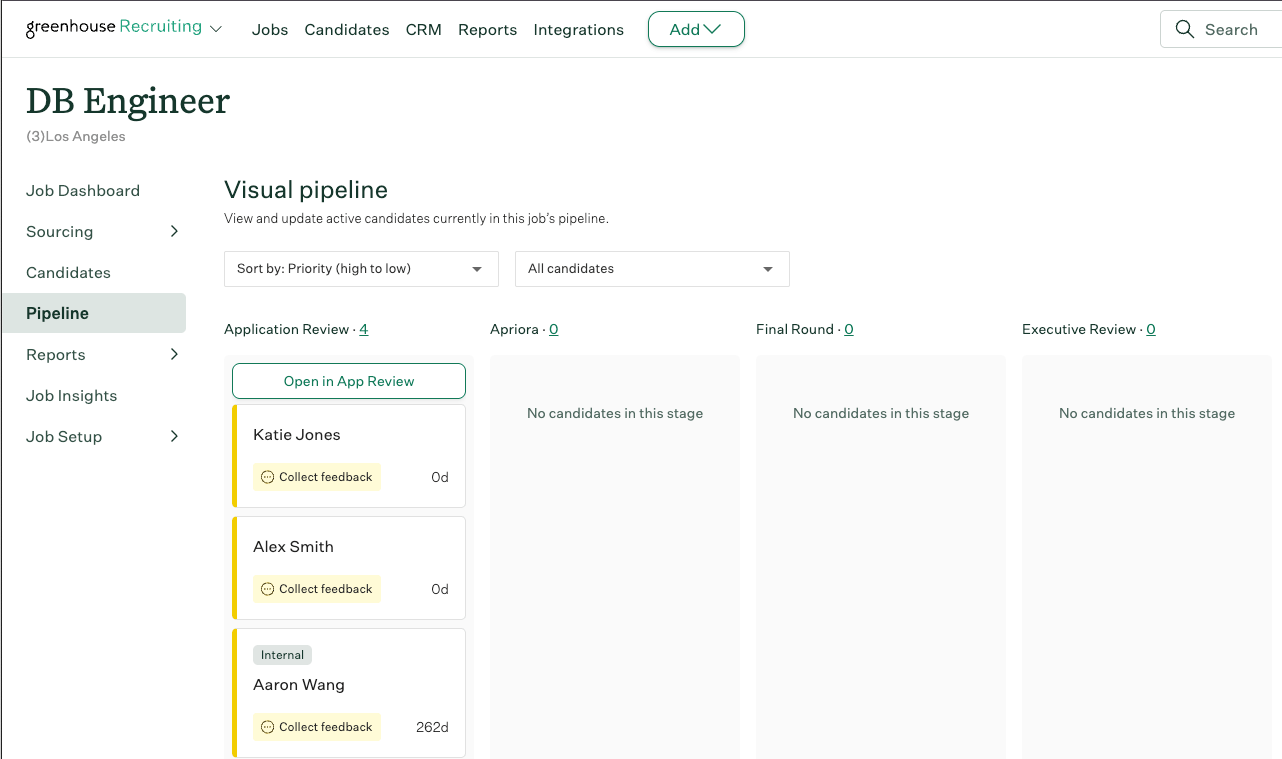
Invite candidates
Inviting takes two actions: move the candidate to the Alex stage, then send the invite. Individually:- Drag a candidate’s card into the Alex stage.
- Open their candidate profile and click Send test to candidate on the right-hand side.
- In the modal, select the Alex Job and assign the grader, then click Send test.
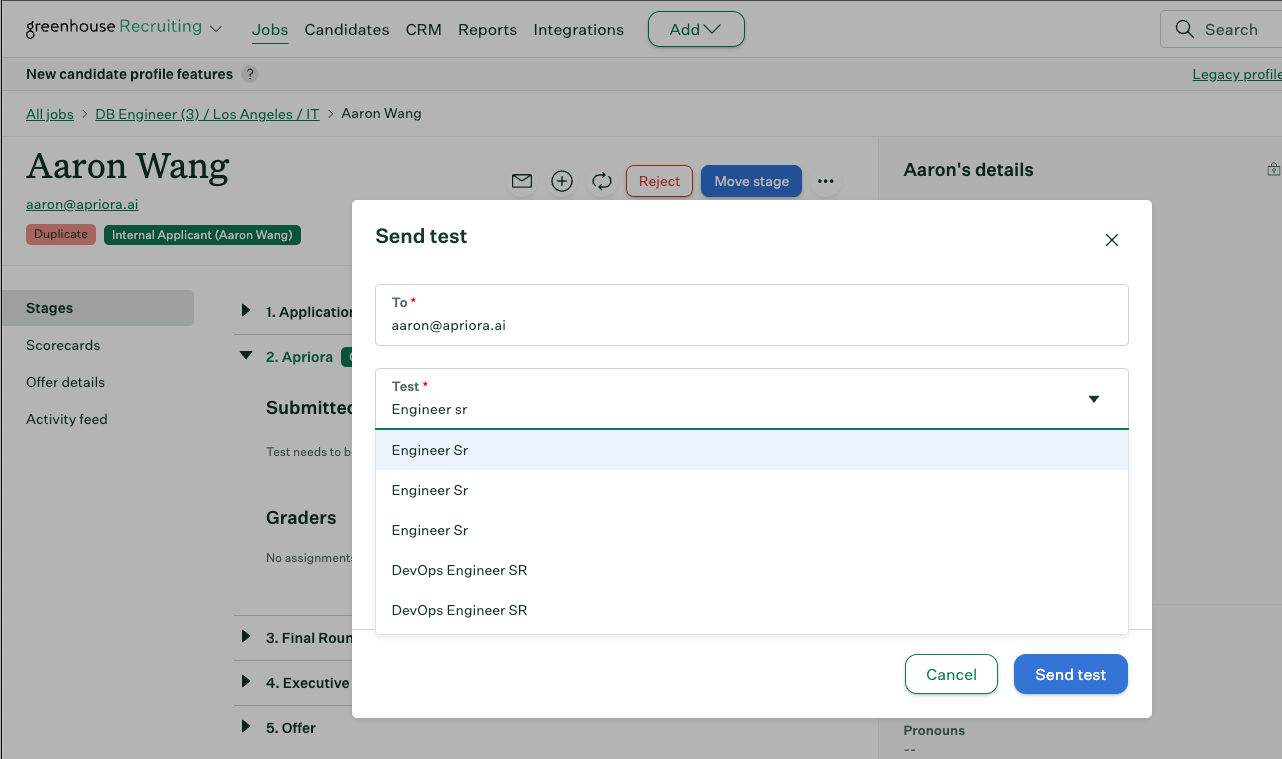
-
Click the pipeline stage before the Alex stage — typically Application Review. In the top right, click
Bulk Actions > Select All > Edit Selected > Move to Another Stage, and select Alex.
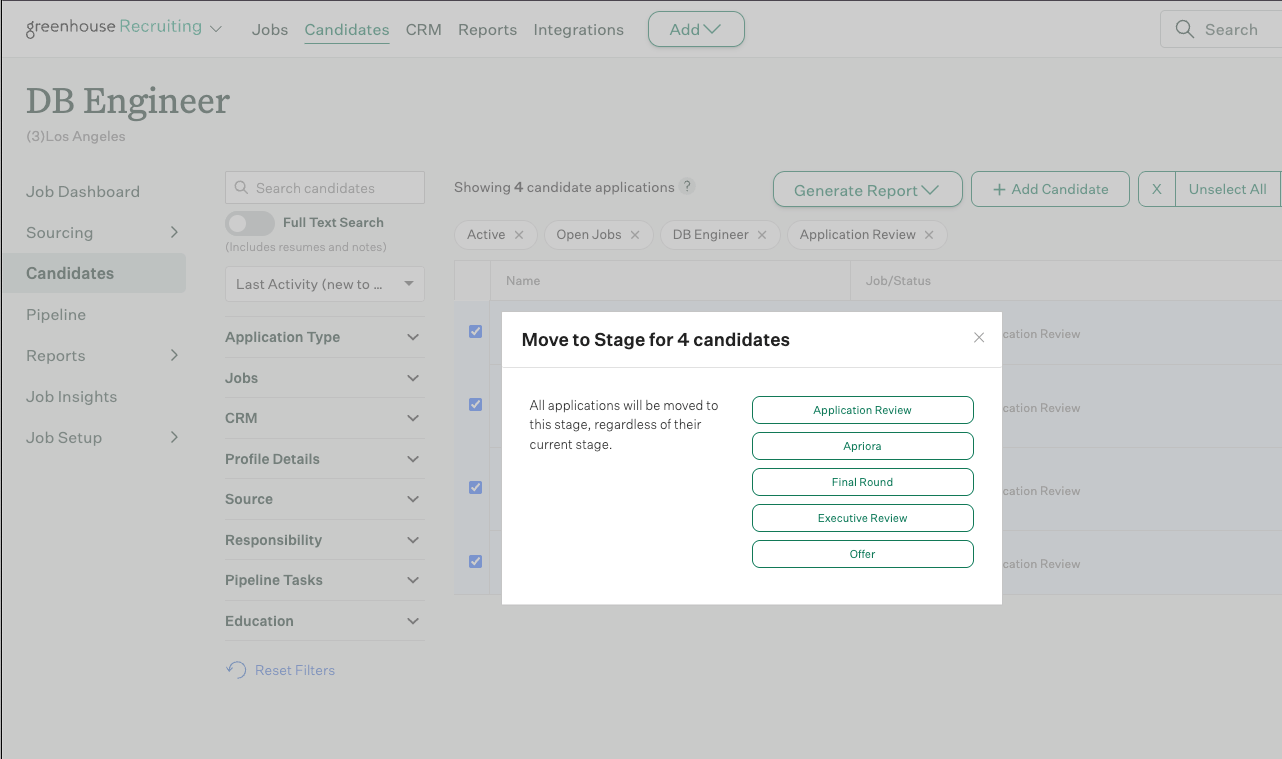
-
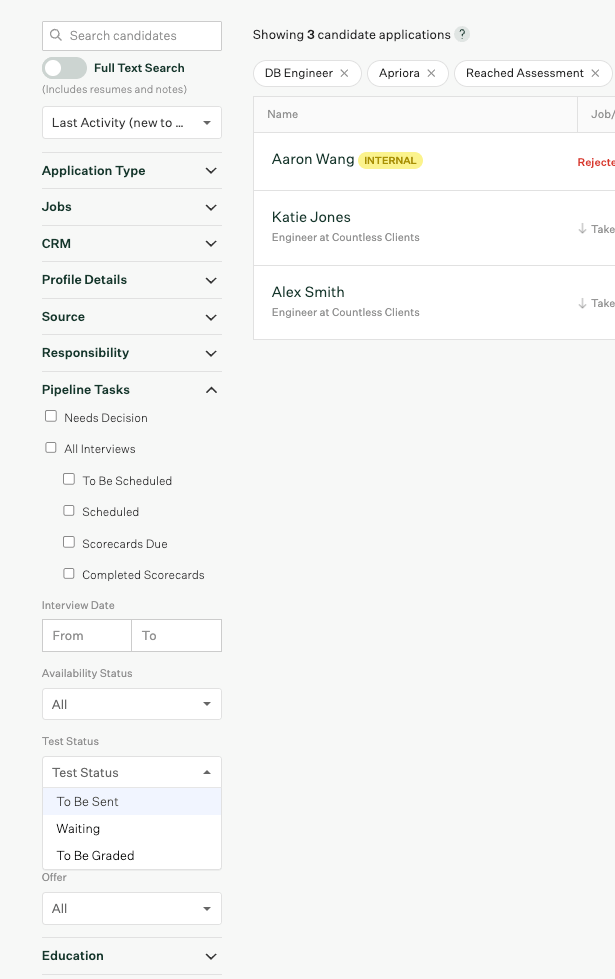
Then, under Responsibility on the left, open the Pipeline Tasks filter and select To Be Sent. Click
Bulk Actions > Select All > Edit Selected > Send Tests, select the Alex Job and the grader, and
click Send Test.
Read the results
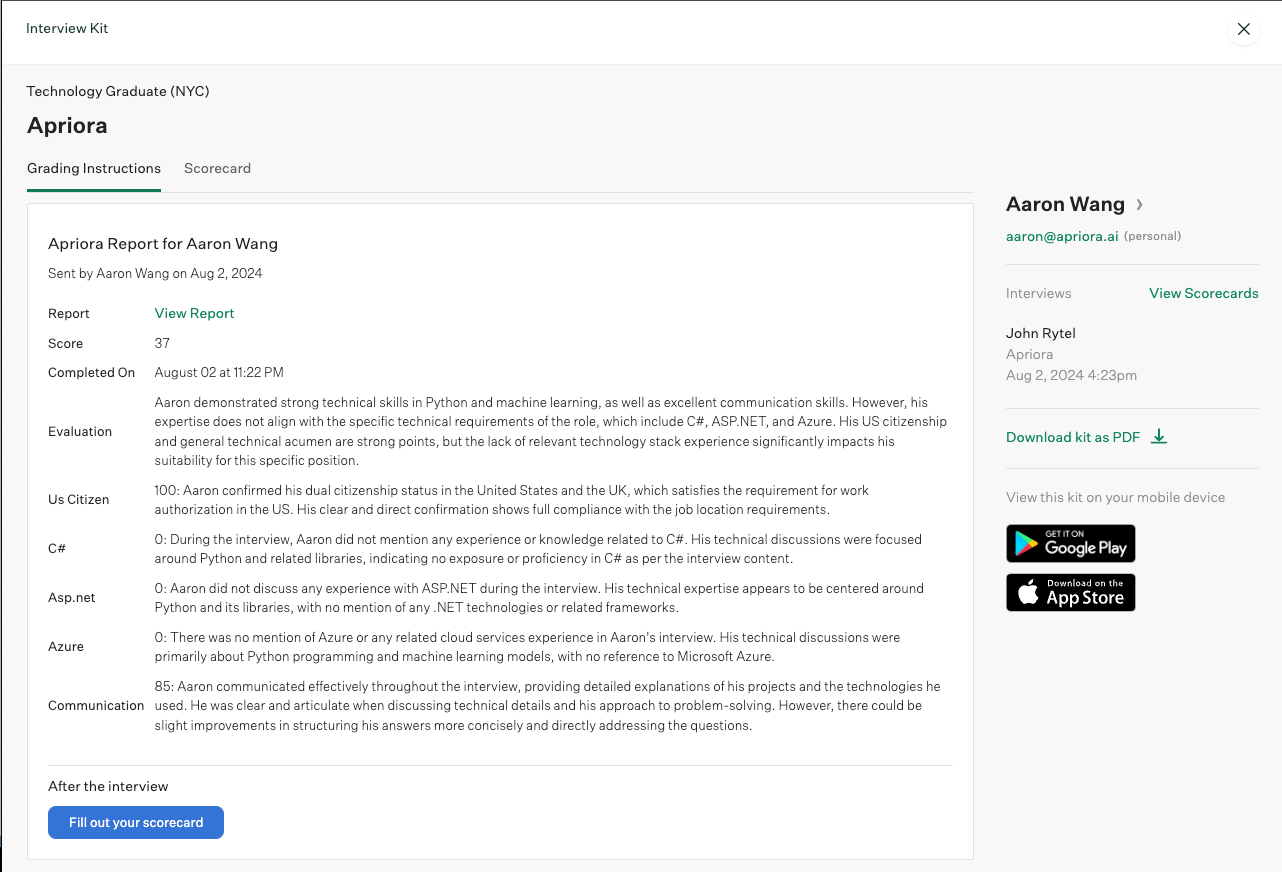
Once the candidate finishes their interview, their status updates to Completed, their score and report upload to Greenhouse, and a note is added to the application recording that the interview was completed.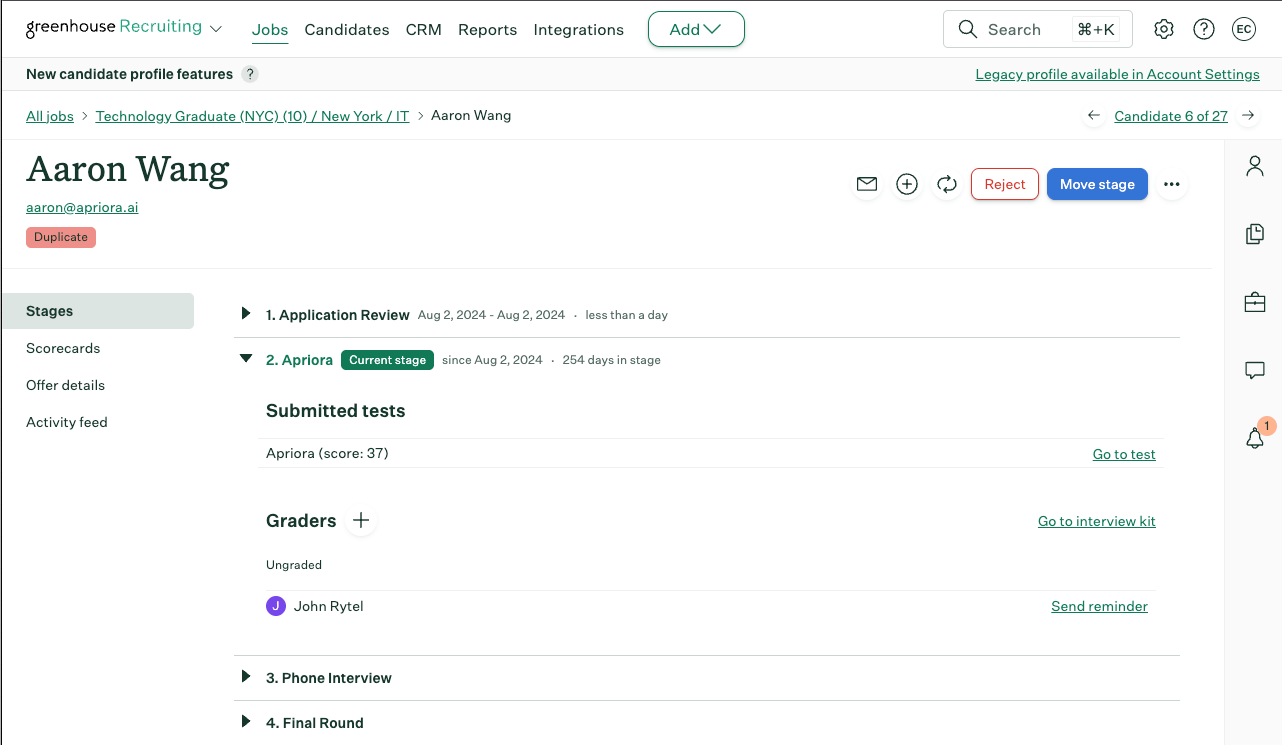
Optional: keep records in sync when candidates are merged
When you merge duplicate candidates in Greenhouse, the losing candidate’s ID is retired. Alex stores that ID, so without this webhook its notes and stage moves for that candidate start failing silently. Setting it up lets Alex repoint its records at the winning candidate automatically.- In Greenhouse, go to Dev Center → Webhooks → Create a New Webhook.
- Fill in the fields:
- Name —
Alex Candidate Merged, or any name you prefer - When — select Merged candidate
- Endpoint URL —
https://api.alex.com/webhook/greenhouse/{companyId}, replacing{companyId}with your Company ID, which you can copy from Alex at Settings → Global Settings → Webhooks - Secret Key — your company’s Alex API Key, from Settings → Integrations → Alex API
- Name —
- Leave Deactivated set to No, and click Create Webhook.
Sync behavior
- Jobs and applications are polled every few minutes from Kombo’s synced copy of your Greenhouse data, so a new job or application typically appears in Alex within minutes.
- The first sync after authorizing runs over your full Greenhouse history and can take anywhere from a couple of hours to a couple of days on a large account. Jobs and users generally become readable well before applications and candidates.
- Alex stores Greenhouse’s own identifiers, so a job imported manually and the same job arriving via auto-import deduplicate to a single record.
- Stage names in the Update Application Stage dropdown come from your open jobs’ interview plans; the stage must exist on the application’s job for the move to succeed.
Troubleshooting
Still stuck? Contact [email protected].