

Overview
The Bullhorn integration connects your Bullhorn instance to Alex so jobs, candidates, and job submissions stay in sync with your interviews. Recruiters can work from Alex custom tabs on Candidate and Job records in Bullhorn, and workflows can invite candidates, write notes, update fields, and attach interview reports. A typical path:- A job is created in Bullhorn. Alex can import it and generate an interview from the job title and description.
- A candidate is submitted to that job (
JobSubmission). Alex can create the candidate and run your application workflow — usually an interview invite by email or SMS. - The candidate completes the interview. Your workflow can add a note, update Candidate / Job / JobSubmission fields, and upload the report PDF to the candidate.
- A recruiter can also open the Alex tab on the Candidate or Job record in Bullhorn to view reports or create the job in Alex.
Step 1: Request API credentials
Email Bullhorn Support and ask them to create an API account for Alex. You can use this template:Bullhorn sometimes creates the wrong type of user. Make sure the request says Alex is a developer partner, Terms of Service must be disabled, and there is no Redirect URI.
- Log into Bullhorn and go to Menu → Admin → Users.
- Open the API user Bullhorn created.
- Generate a new password and save it for the next step.
Step 2: Enter credentials in Alex
- In Alex, go to Settings → Connect your ATS.
- Select Bullhorn.
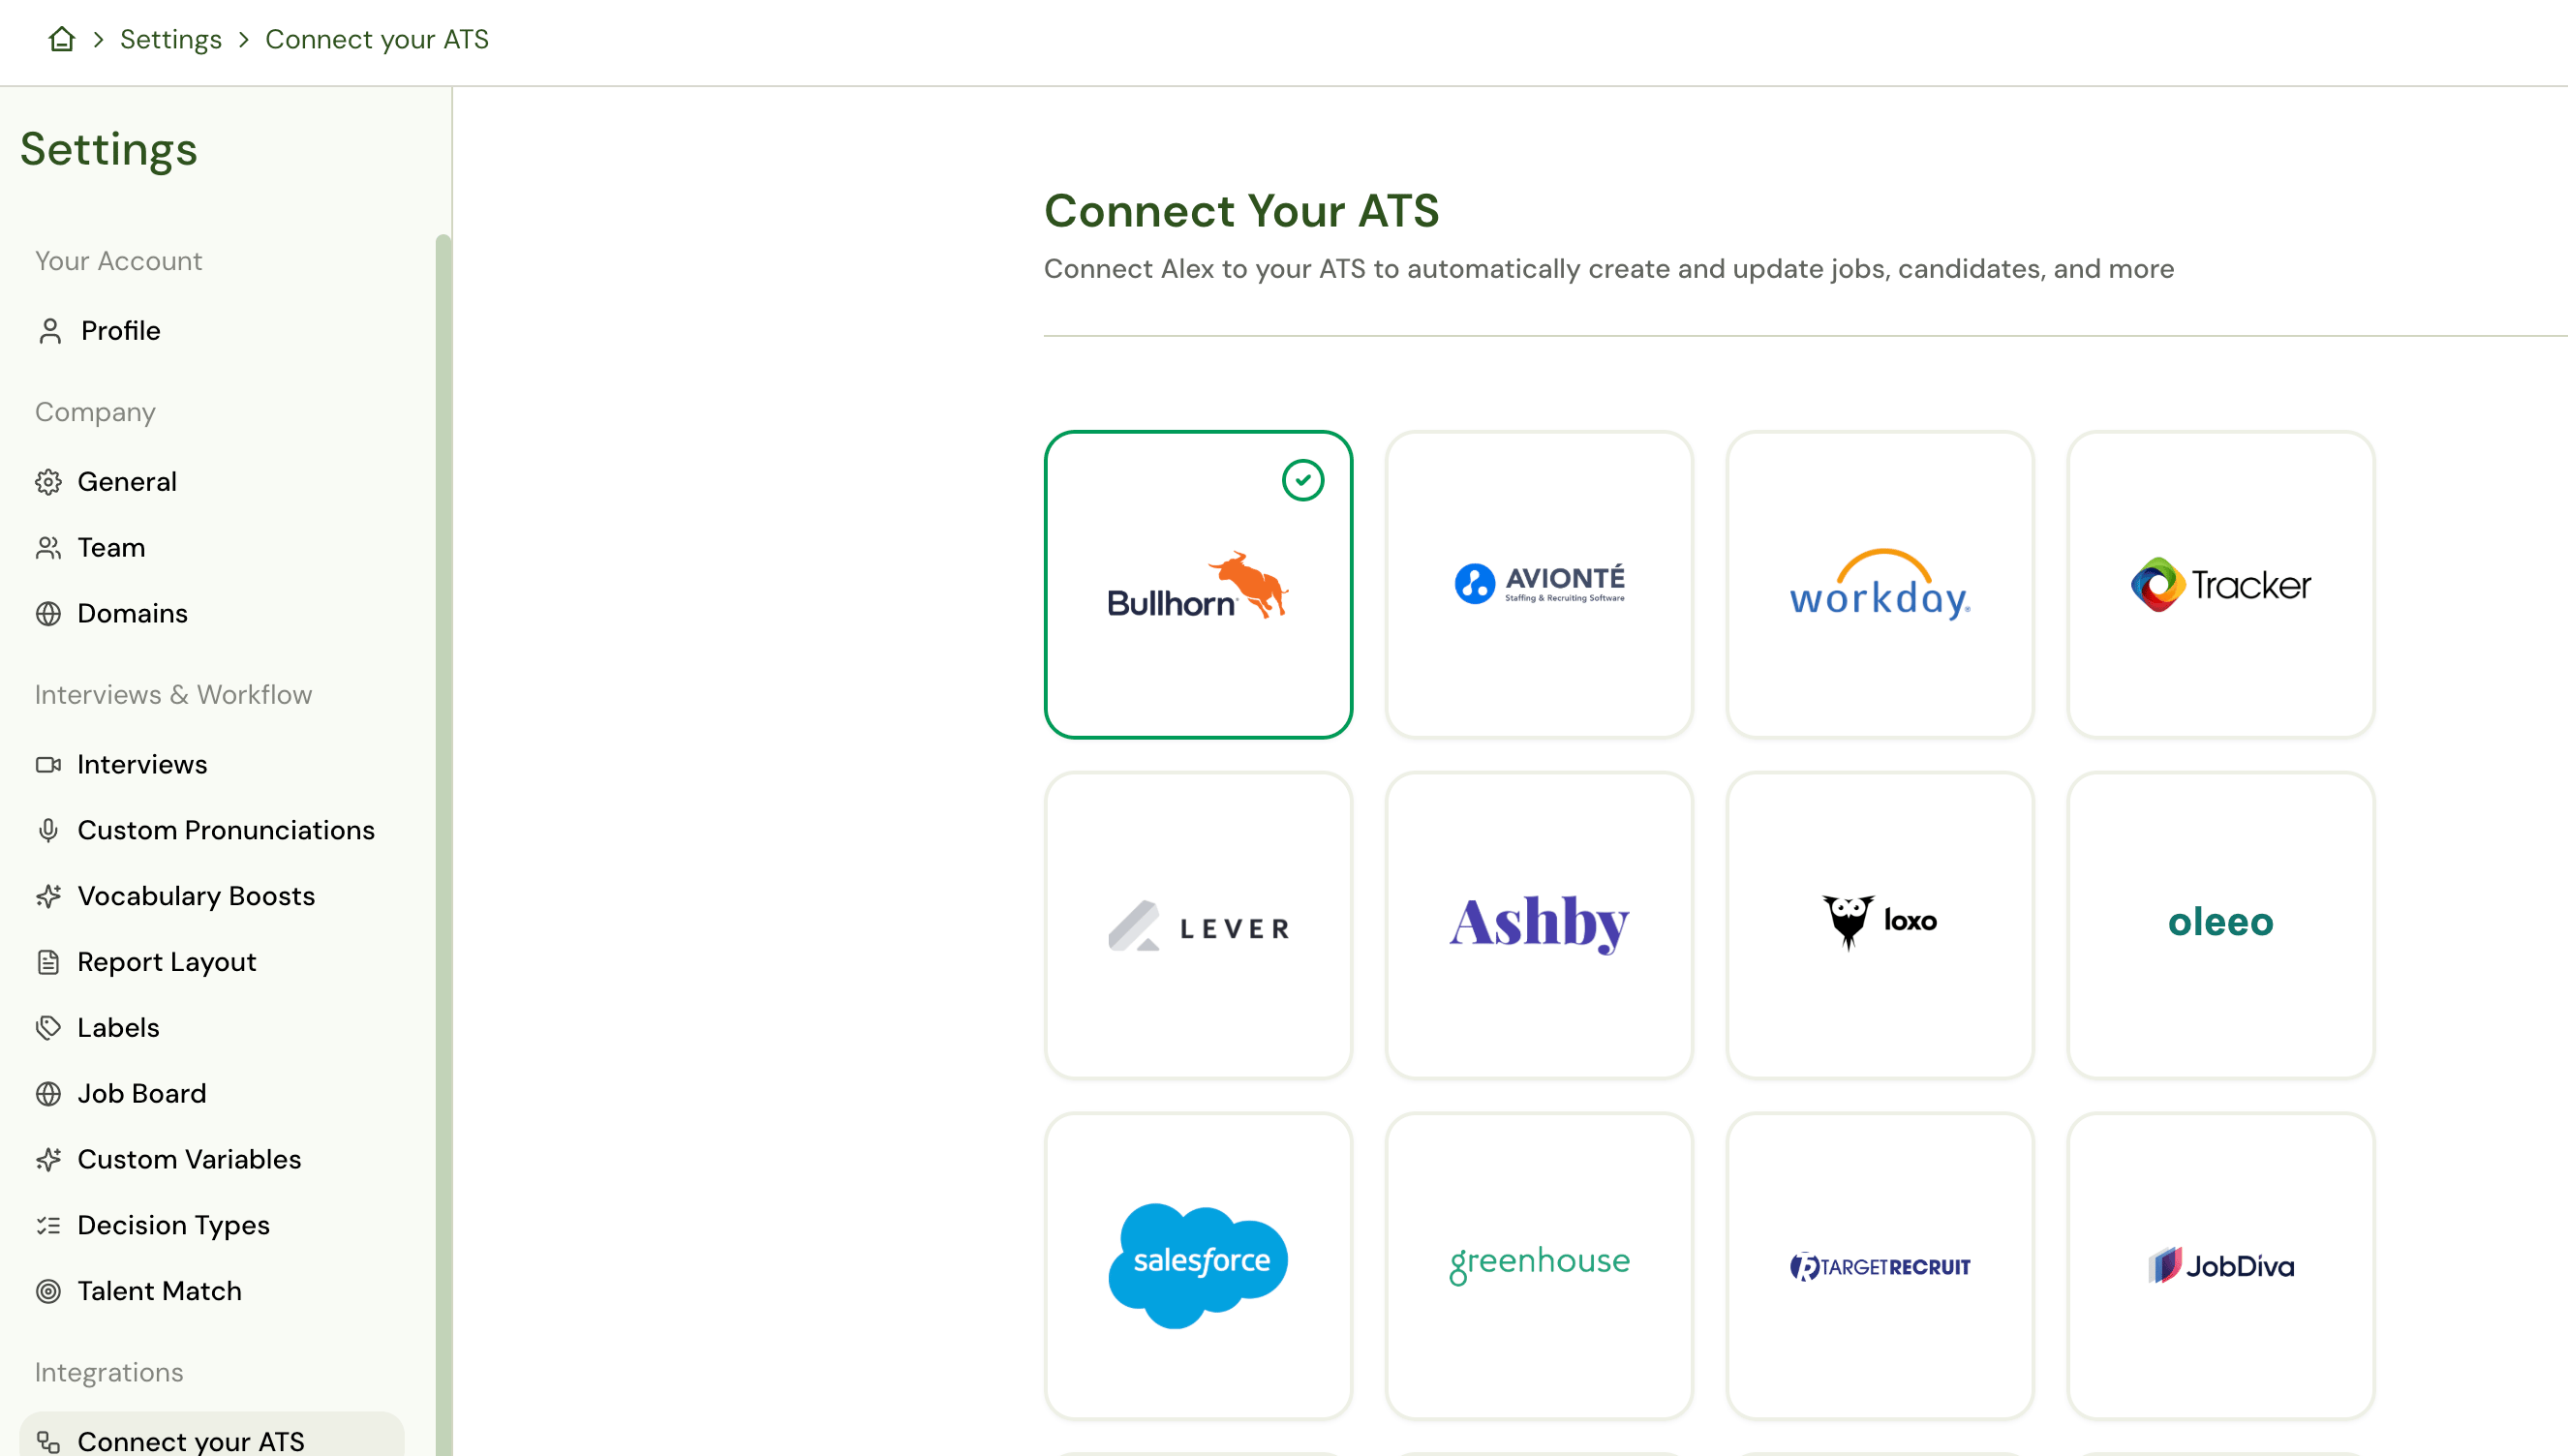
-
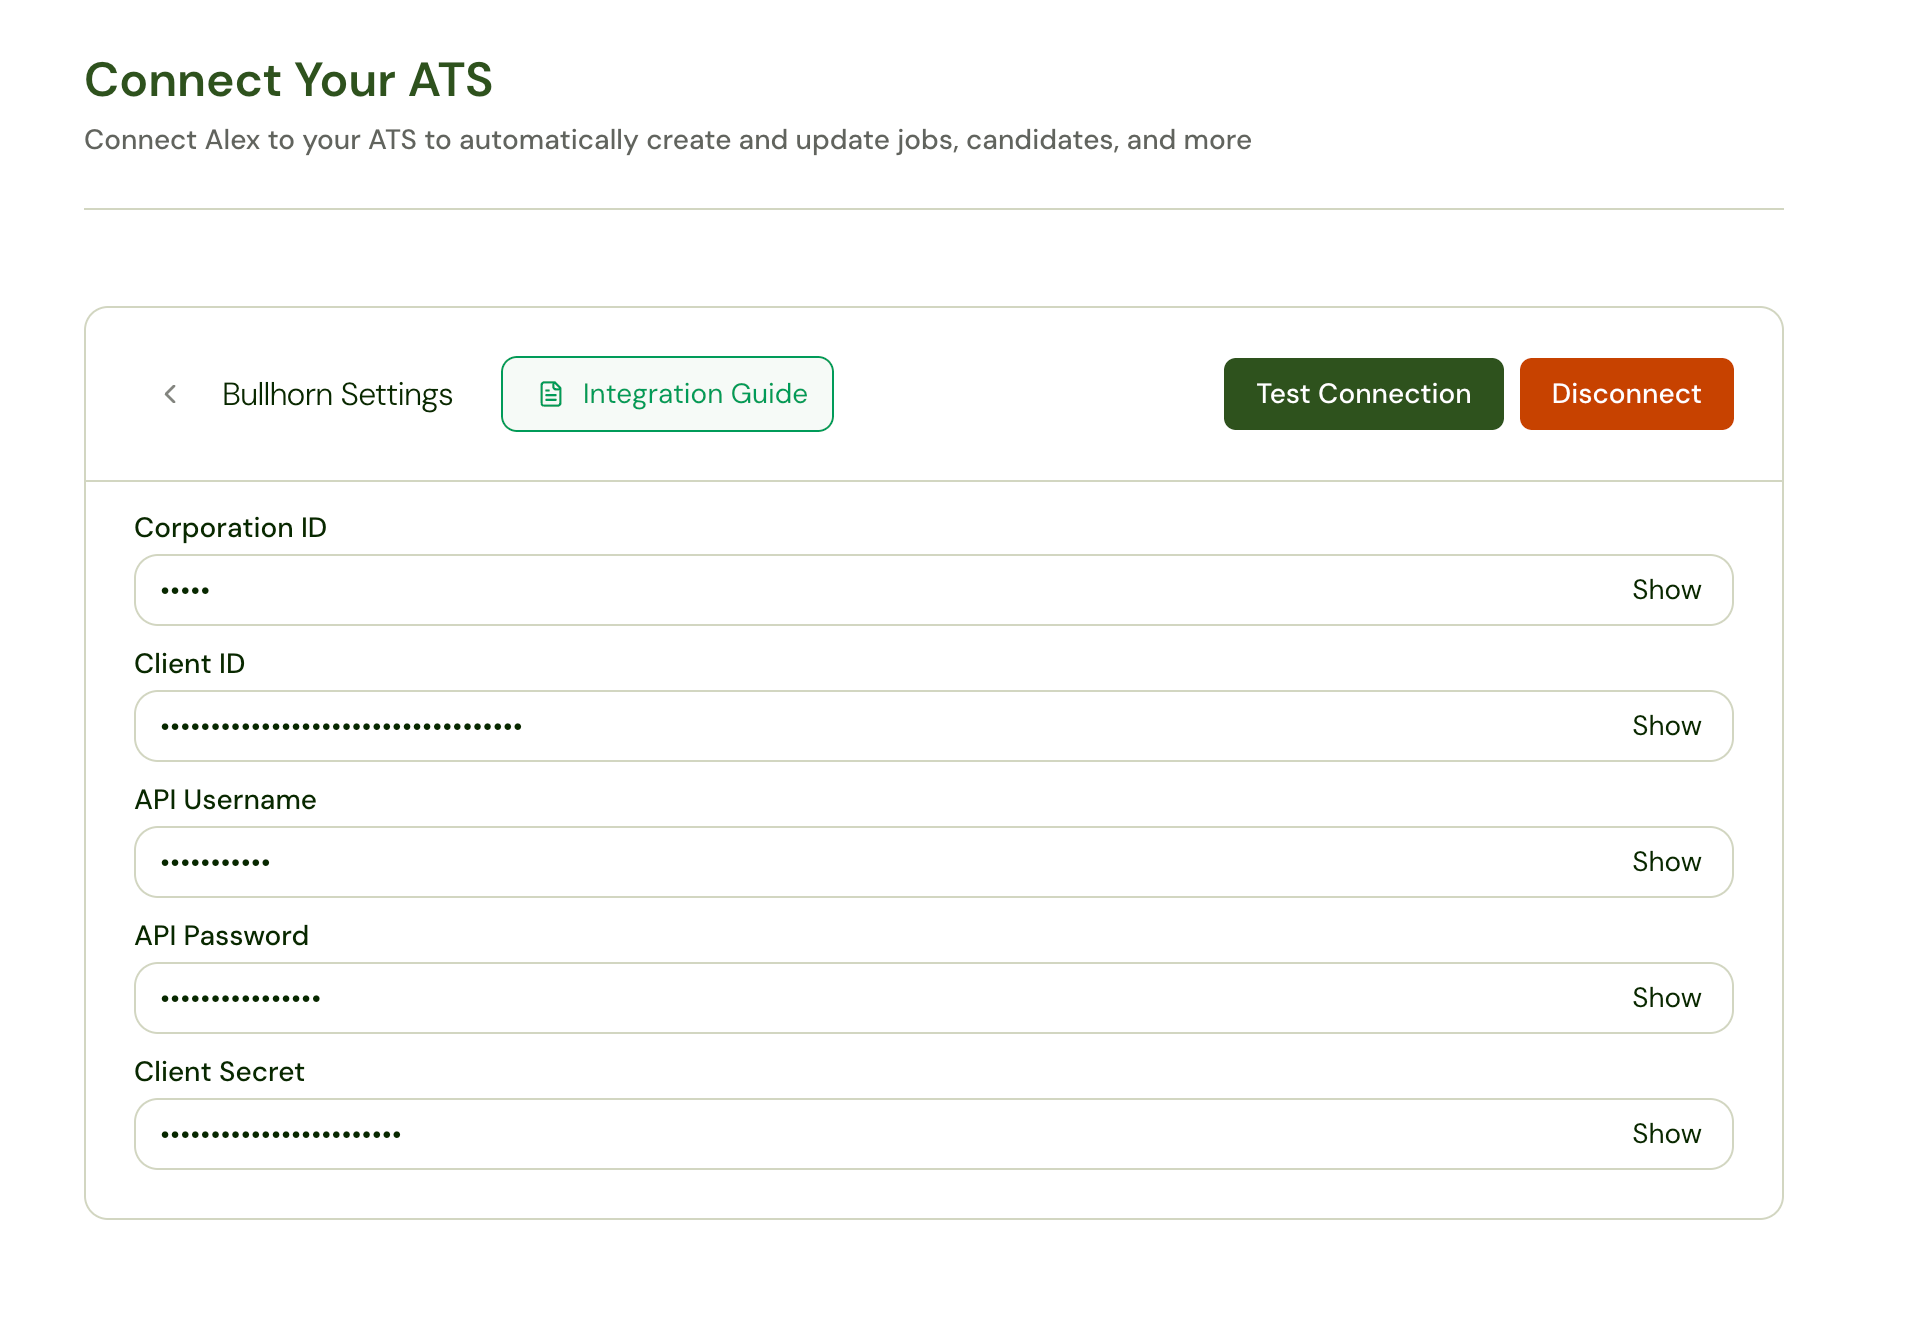
Enter:
- Click Test Connection. Wait for Test Successful.
- Click Connect to enable the integration. If Bullhorn is already connected, the header shows Disconnect instead — click Update Connection only when you have changed credentials.
Step 3: Add Alex custom tabs in Bullhorn
Custom tabs are what embed Alex inside Candidate and Job records. In Bullhorn, go to Admin → View Layout.Candidate
- Set Field Map Entity to Candidate and open the Custom Tabs tab.
- Click Add New.
- Set Name to
Alexand URL tohttps://app.alex.com/bhwidget. - Check Enabled.
- Add every User Type that should see the tab. If you leave User Types empty, nobody can see it.
- Click Save.
Job
Repeat the same steps with Field Map Entity set to Job. If you use Job I, Job II, or other job layout entities, add the same custom tab on each of those entities as well. Use the same name and URL:- Name:
Alex - URL:
https://app.alex.com/bhwidget
Using the Alex tabs
Once the tabs are enabled, they appear on individual records in Bullhorn.- Job tab — If the job is not yet in Alex, the tab opens a create-job form prefilled from the Bullhorn job. If it already exists, the tab shows the Alex job (rounds, candidates, and reports).
- Candidate tab — Shows that candidate’s Alex interviews and reports.
CorporationID, UserID, and EntityID from Bullhorn. If a tab loads with “Missing required parameters”, confirm the URL is exactly https://app.alex.com/bhwidget with no extra path.
Configure workflows
Connecting credentials does not by itself invite candidates or write notes. Configure workflows after the connection succeeds.
You can also import a single job on demand in Alex: Create job → Import from ATS and paste the Bullhorn job ID.
Troubleshooting
Still stuck? Contact [email protected].