

What you unlock
- Confirm there’s a real, correctly-identified person behind an application — before you invest interview time in them
- A government-issued document check plus a selfie match, run in under two minutes on the candidate’s phone
- Results that land everywhere you already work: the candidate record, the interview report, your workflows, and your ATS
How it works
1
The candidate gets a secure link
Sent by a workflow, by you, or shown as a step before an interview starts.
2
They photograph an ID and take a selfie
Passports, driver’s licenses, and national ID cards are accepted. The document is captured and read automatically.
3
We run the checks
The document is validated, the selfie is matched to the photo on it with a liveness check, and the name on the ID is compared against the name on the candidate record.
4
The result lands in Alex
Usually within seconds. The candidate’s status updates, the report fills in, and any workflows listening for the outcome fire.
Identity Verification is powered by Stripe Identity. Candidates submit their documents directly to Stripe — the images
are never handled by your recruiters unless you deliberately attach the ID-bearing report variant described below.
Where verification happens
Before an interview
A required step on the interview welcome page
From a workflow
A Send Verification Link step, over email, SMS, or WhatsApp
On demand
A Send verification link button on any candidate
Before an interview
Open an interview guide and turn on Identity Verification in the Welcome Page card. Candidates on that guide see a notice on the welcome screen telling them what’s coming, and are asked to verify right after they click Continue. The interview only starts once verification passes — a failed or canceled attempt returns them to the welcome screen with a prompt to try again. A candidate who verified recently enough to still be inside your validity window skips the step entirely.From a workflow
Add a Send Verification Link action to an application or candidate workflow. Pick the channel — Email, SMS, or WhatsApp — and edit the message. The link is inserted with the{{id_verification_link}} variable, which you can place anywhere in the body.
WhatsApp sends require a pre-approved template, because a verification link is usually the first message a candidate
receives from you and falls outside WhatsApp’s free-form reply window.
On demand
On a candidate’s Verification tab, click Send verification link. You can either email it — editing the subject and body first, or prefilling from a saved email template — or generate the link and copy it to send yourself. If the candidate is already verified and still inside the validity window, the dialog warns you before letting you send anyway.What the candidate sees
This walkthrough follows the pre-interview path, which starts on a laptop and moves to a phone for the camera work. The ID and selfie screens belong to Stripe, so a candidate who arrives from a workflow or an on-demand link meets the same capture steps — they just reach them from the link rather than the welcome page.1
A notice on the welcome page
The candidate is told what’s coming before anything is captured.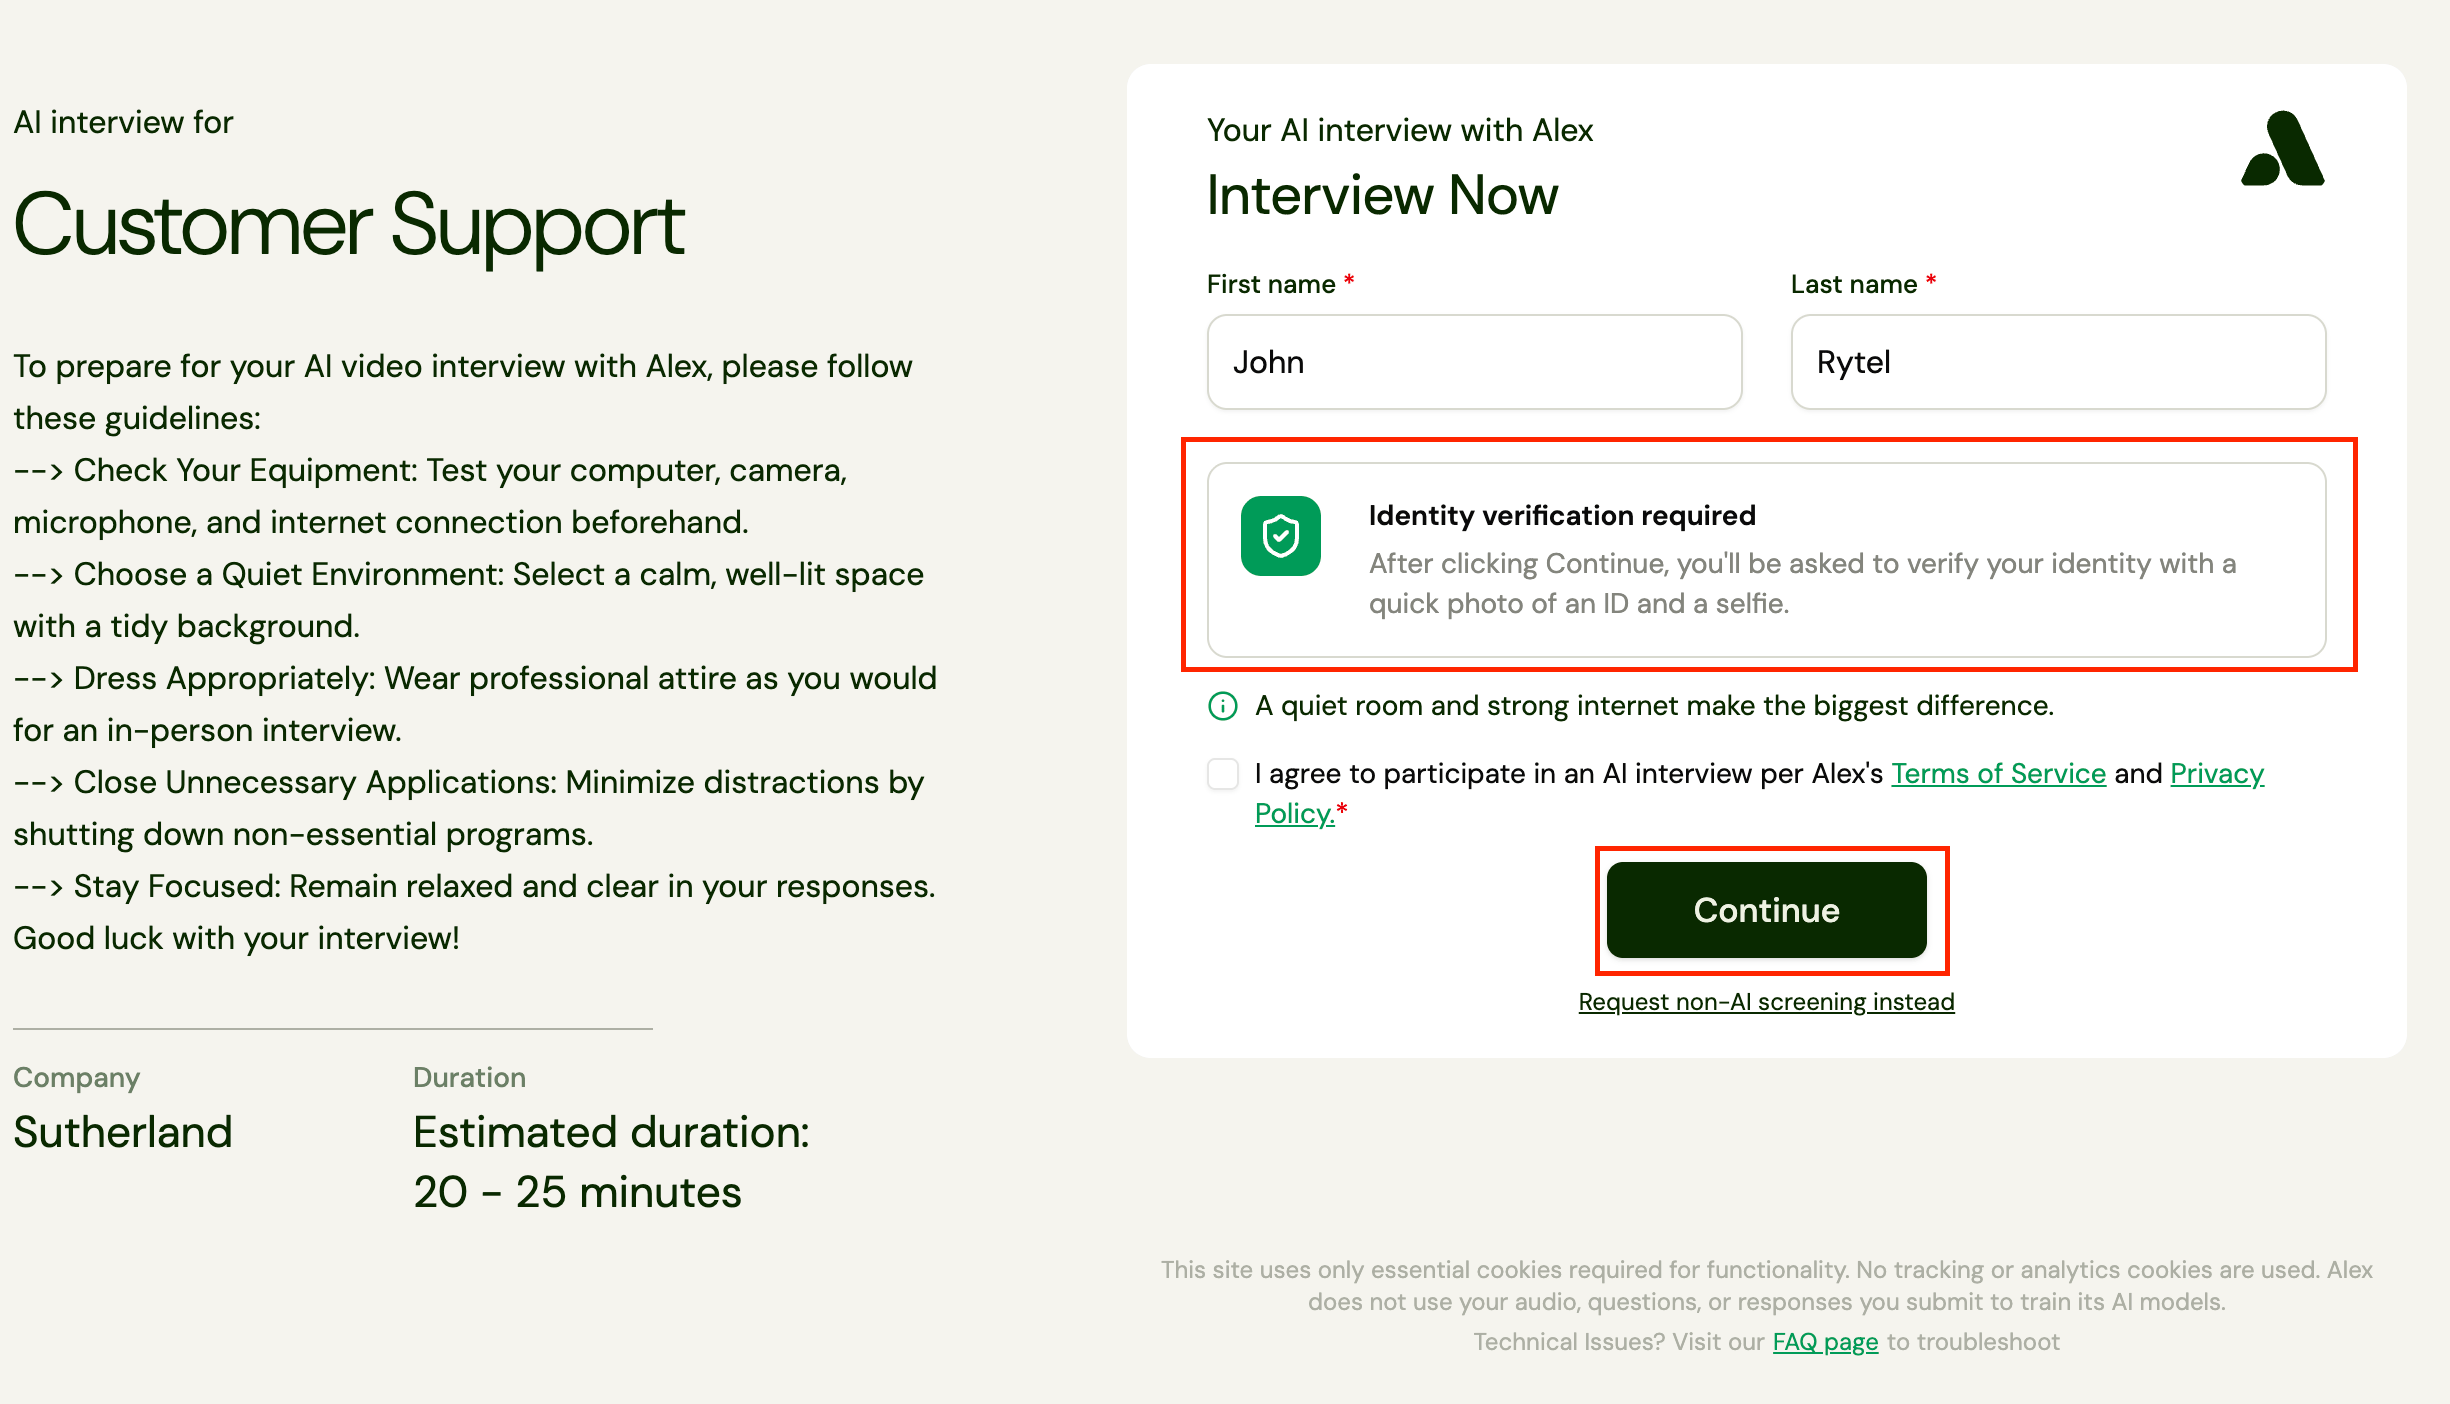
2
Consent to the check
Continue opens Stripe’s consent screen, which states what’s collected and links both privacy policies. Declining returns the candidate to the welcome page.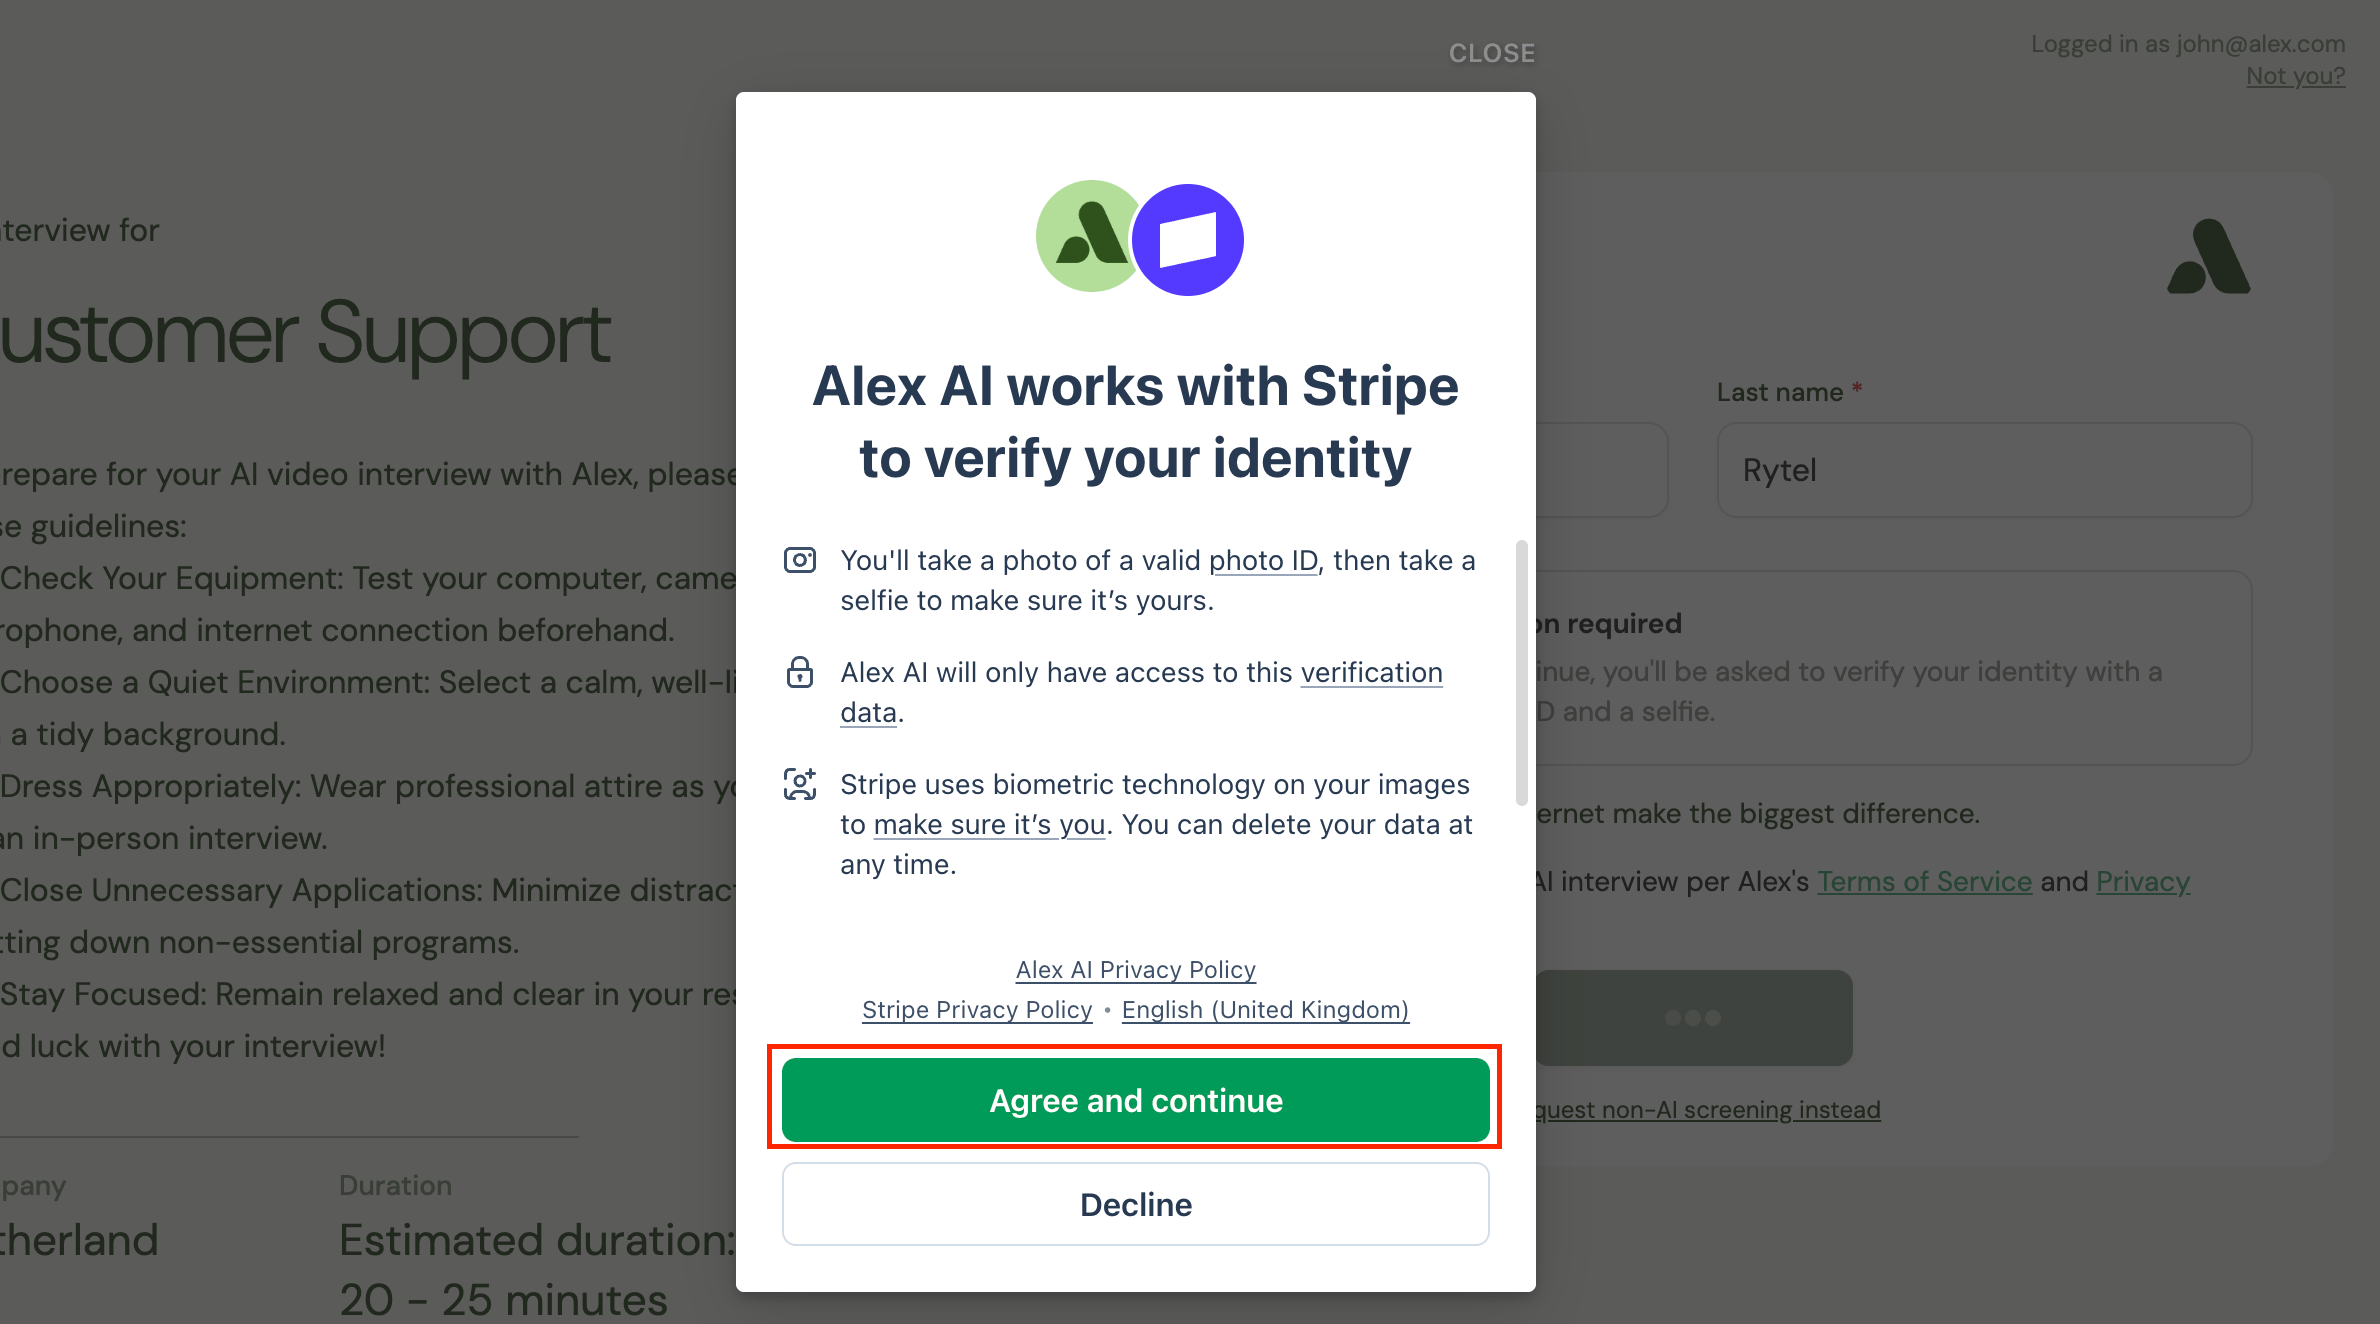
3
Move to a phone
Reading a document needs a decent camera, so Stripe offers a QR code to continue on a phone. Other options covers candidates who would rather stay on the laptop.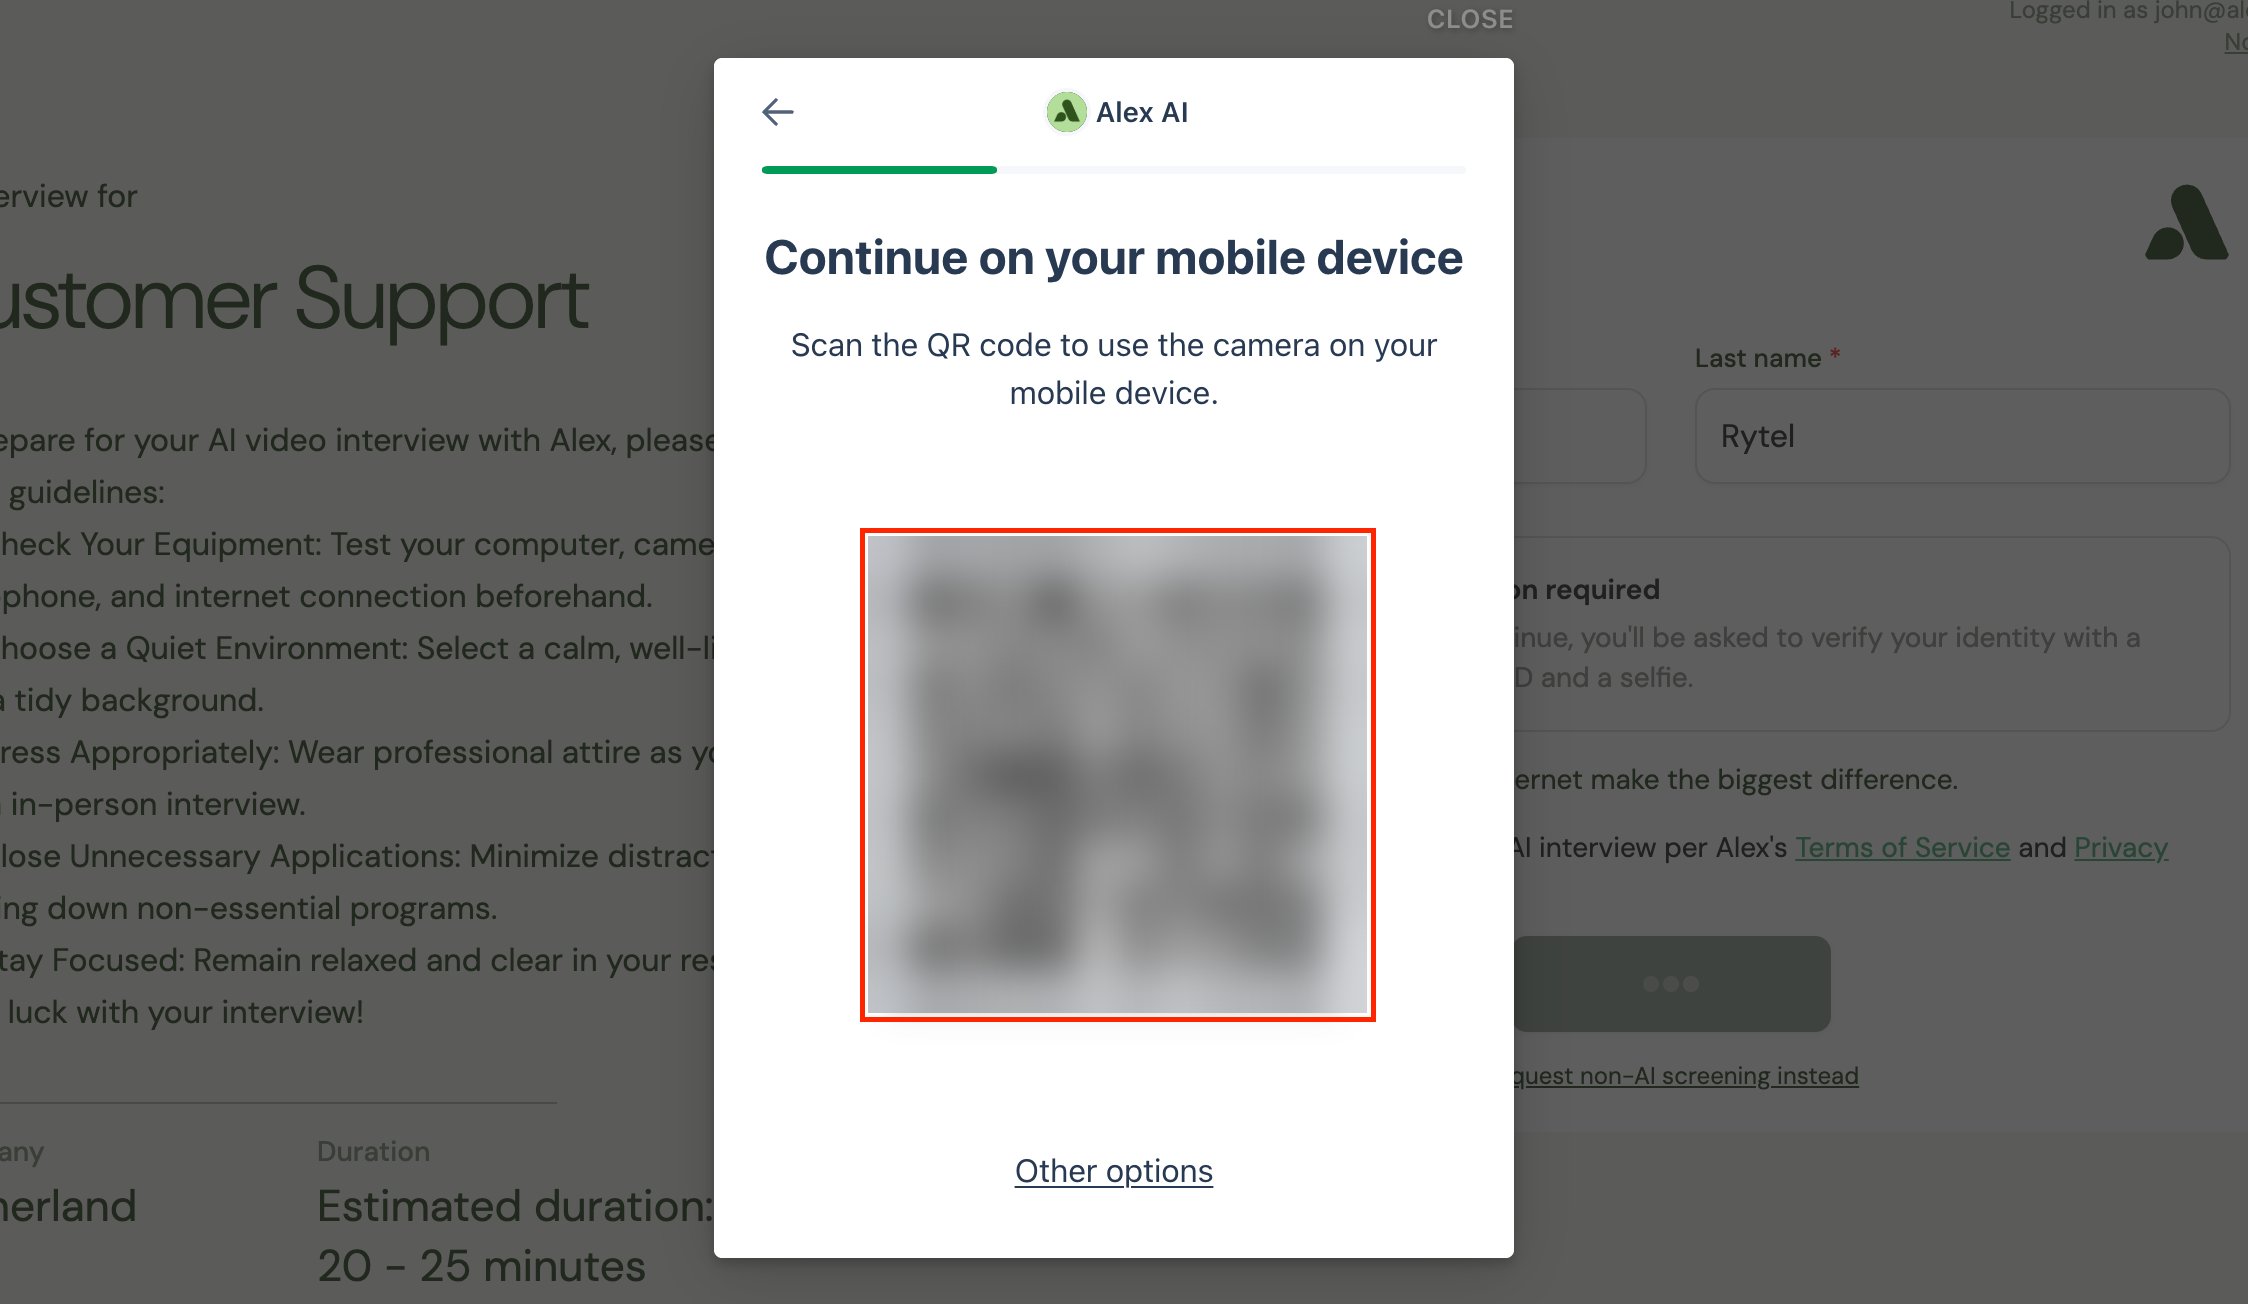
4
The laptop hands over
From here the laptop only waits. Continue on this device backs out of the handoff.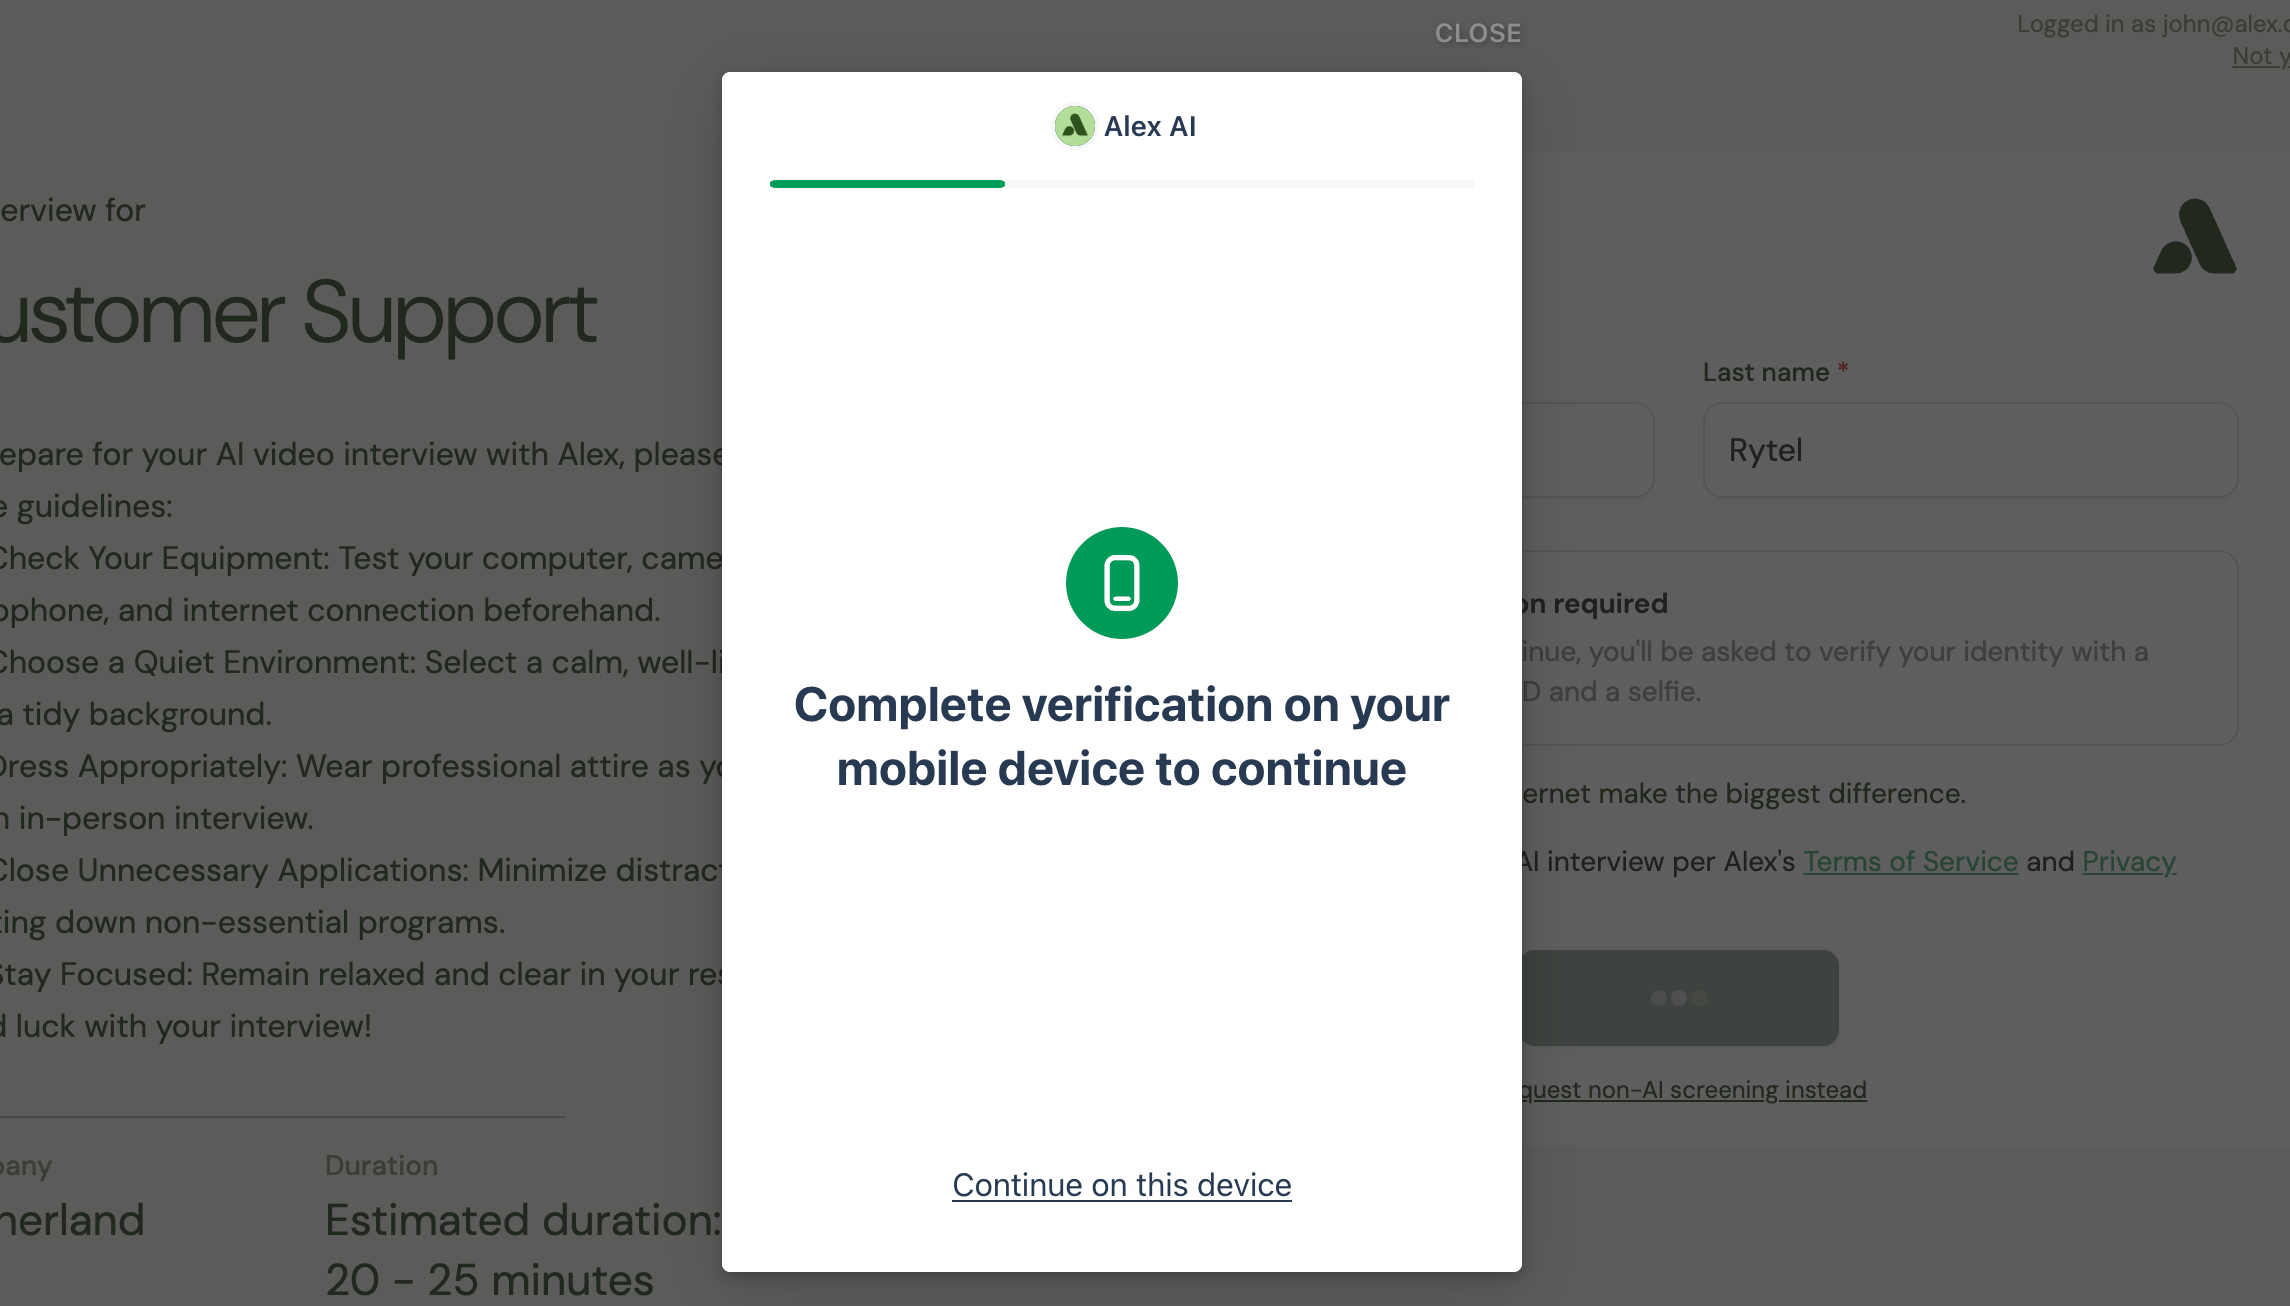
5
Pick a document
On the phone, Stripe names what it accepts: a driver’s licence, passport, or other government-issued photo ID.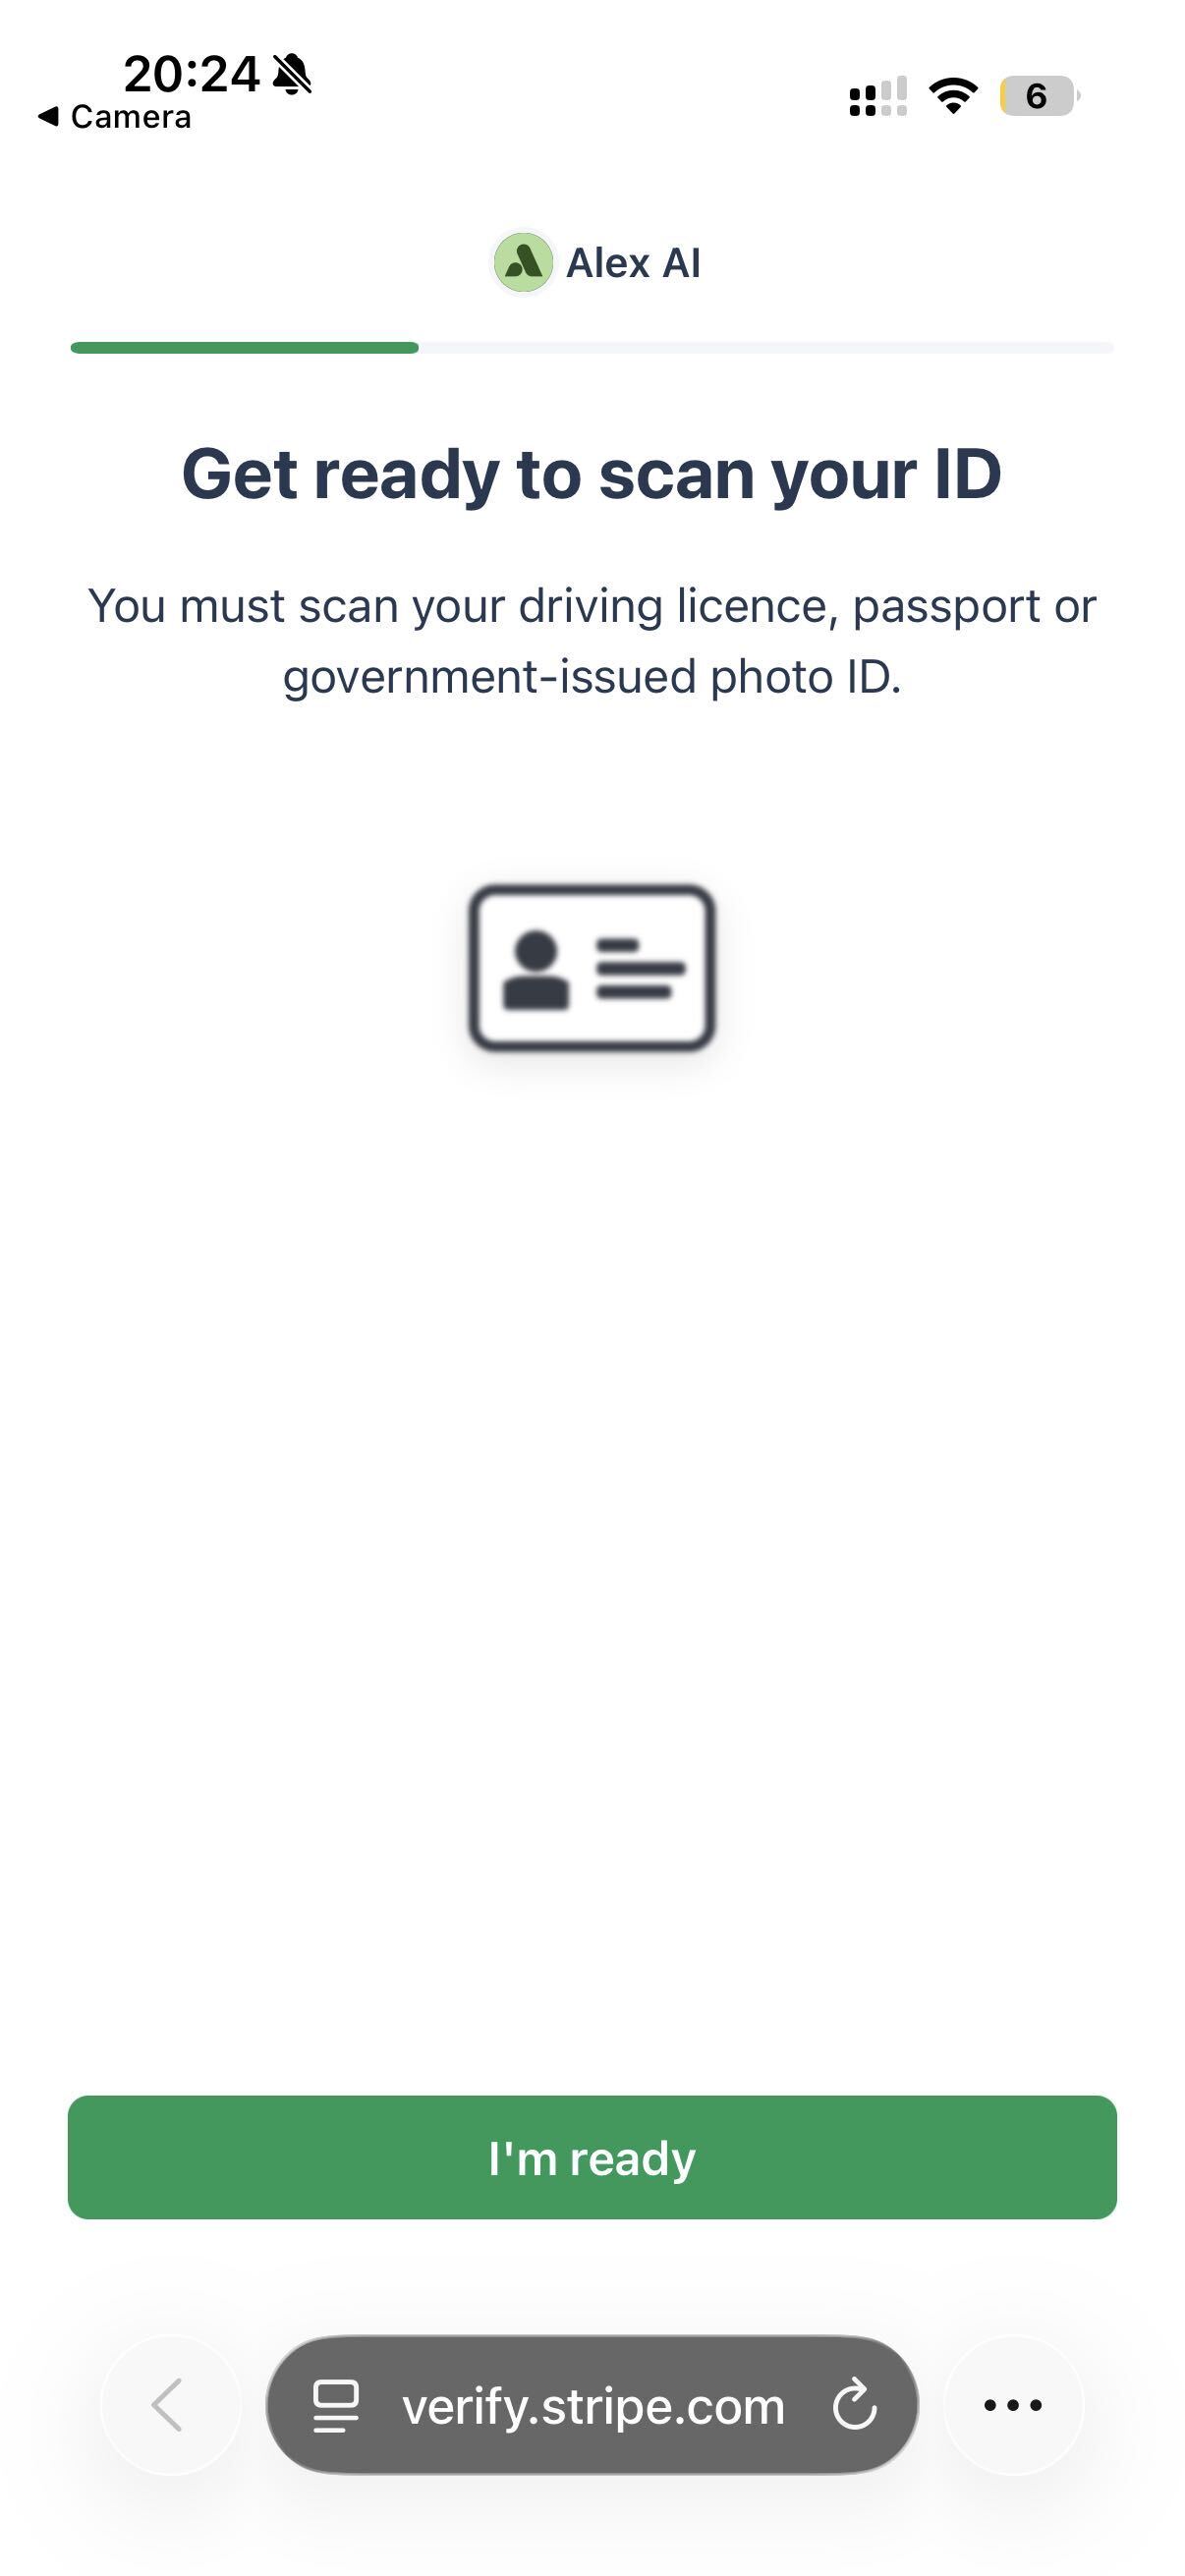
6
Capture the document
The camera shoots automatically once the document is framed. Manual takes the photo by hand when autocapture struggles.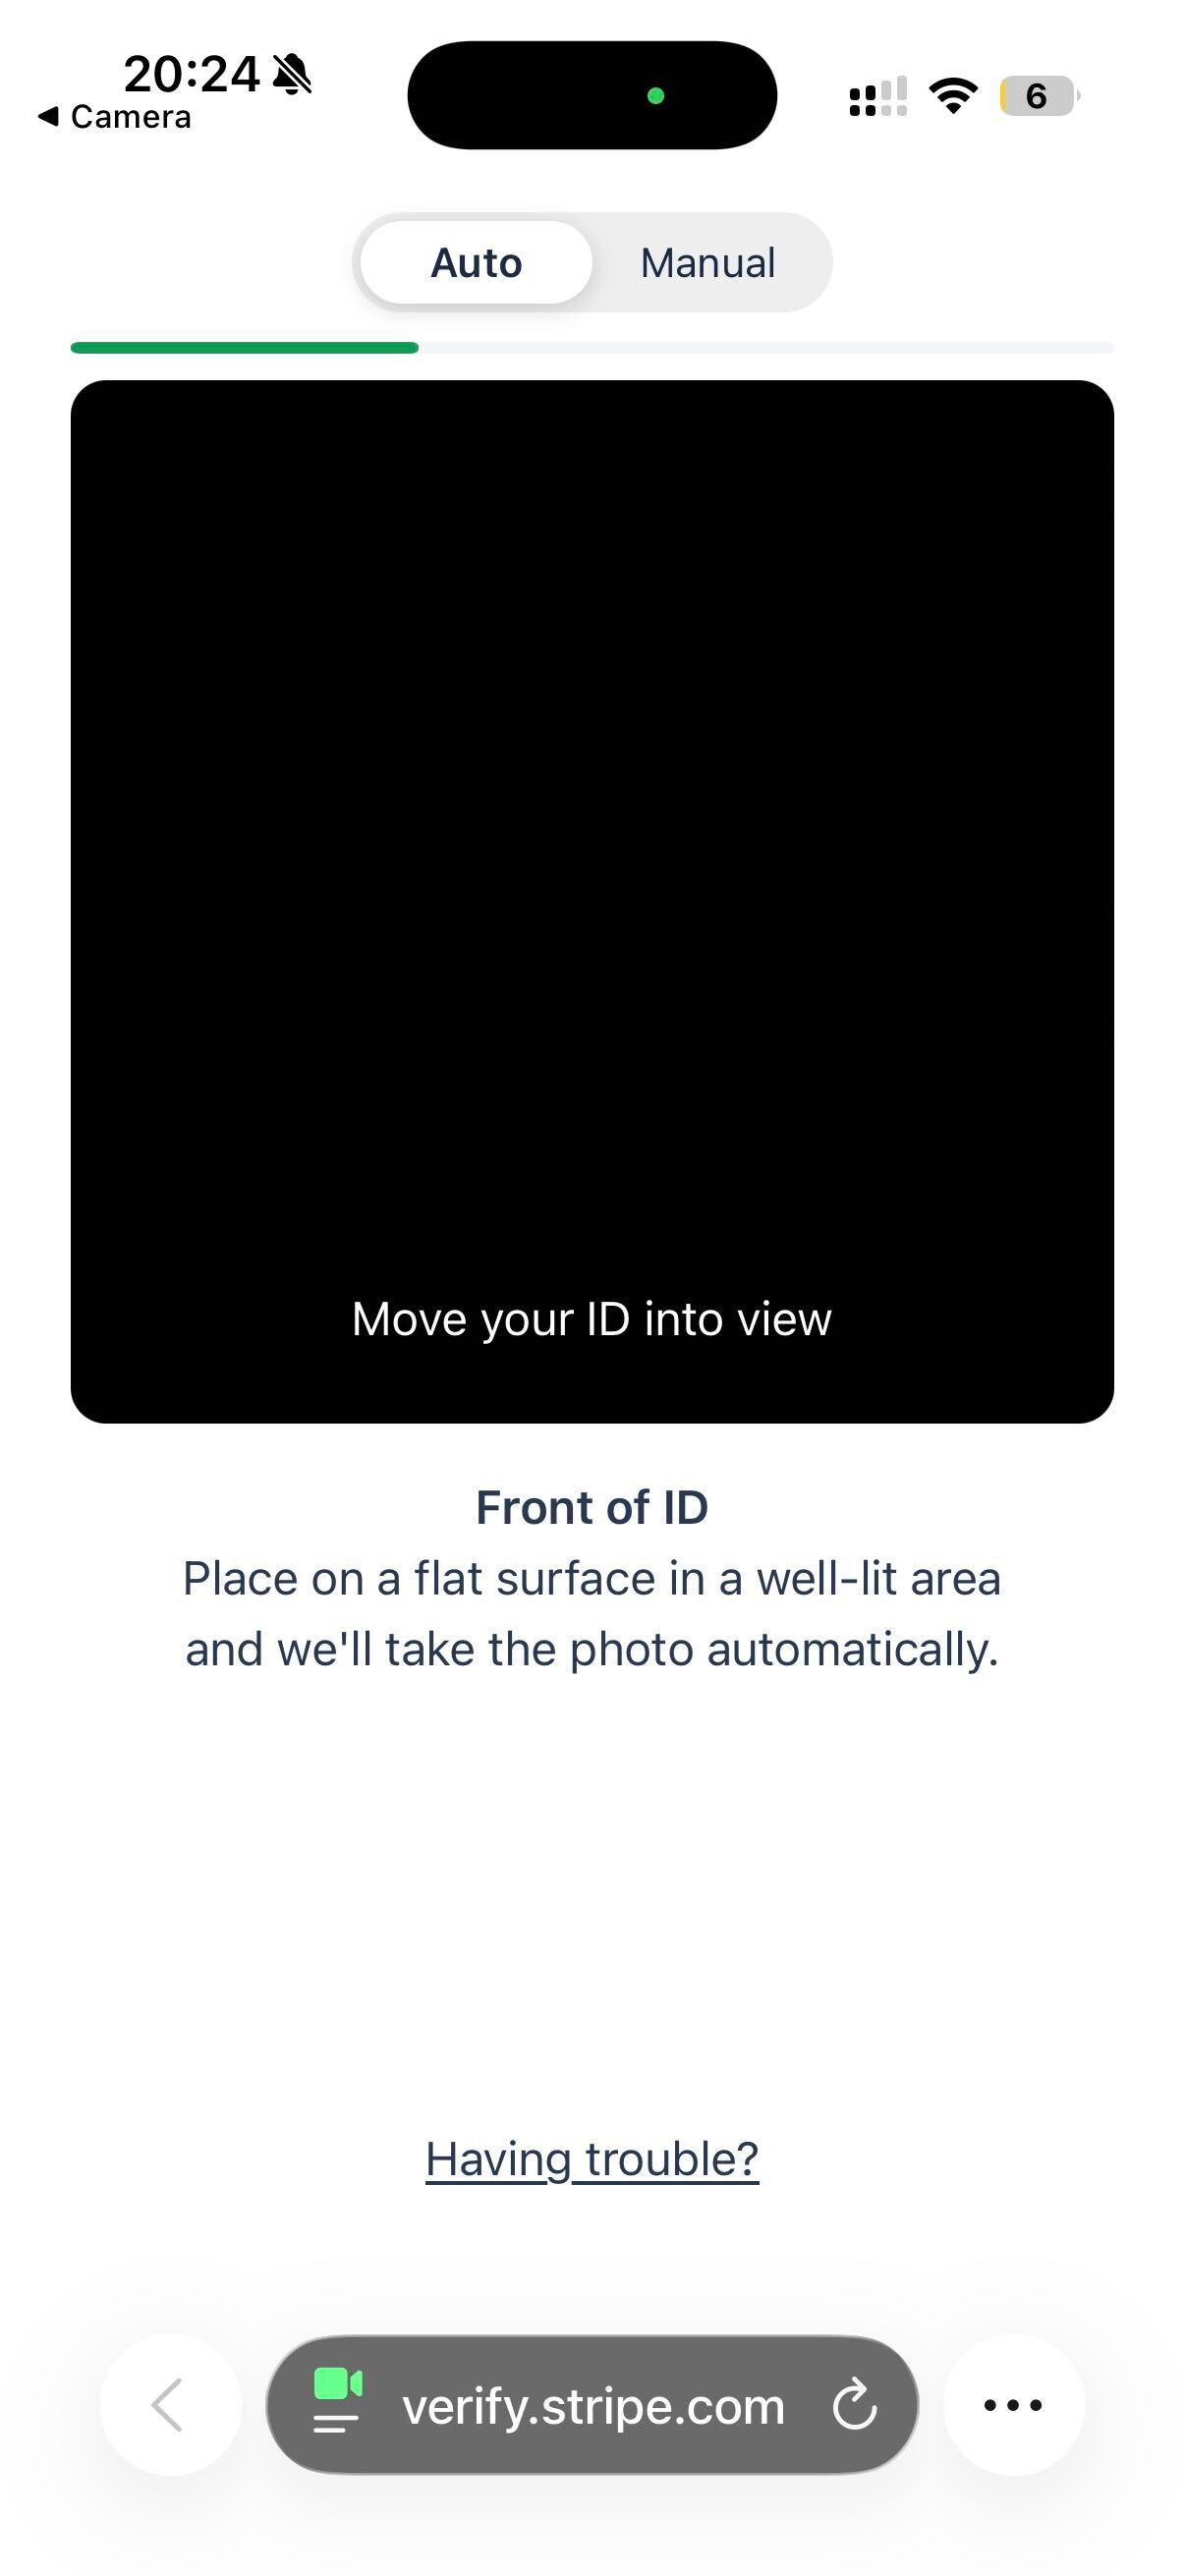
7
Check the capture
Each side is played back for the candidate to accept or retake before it’s sent.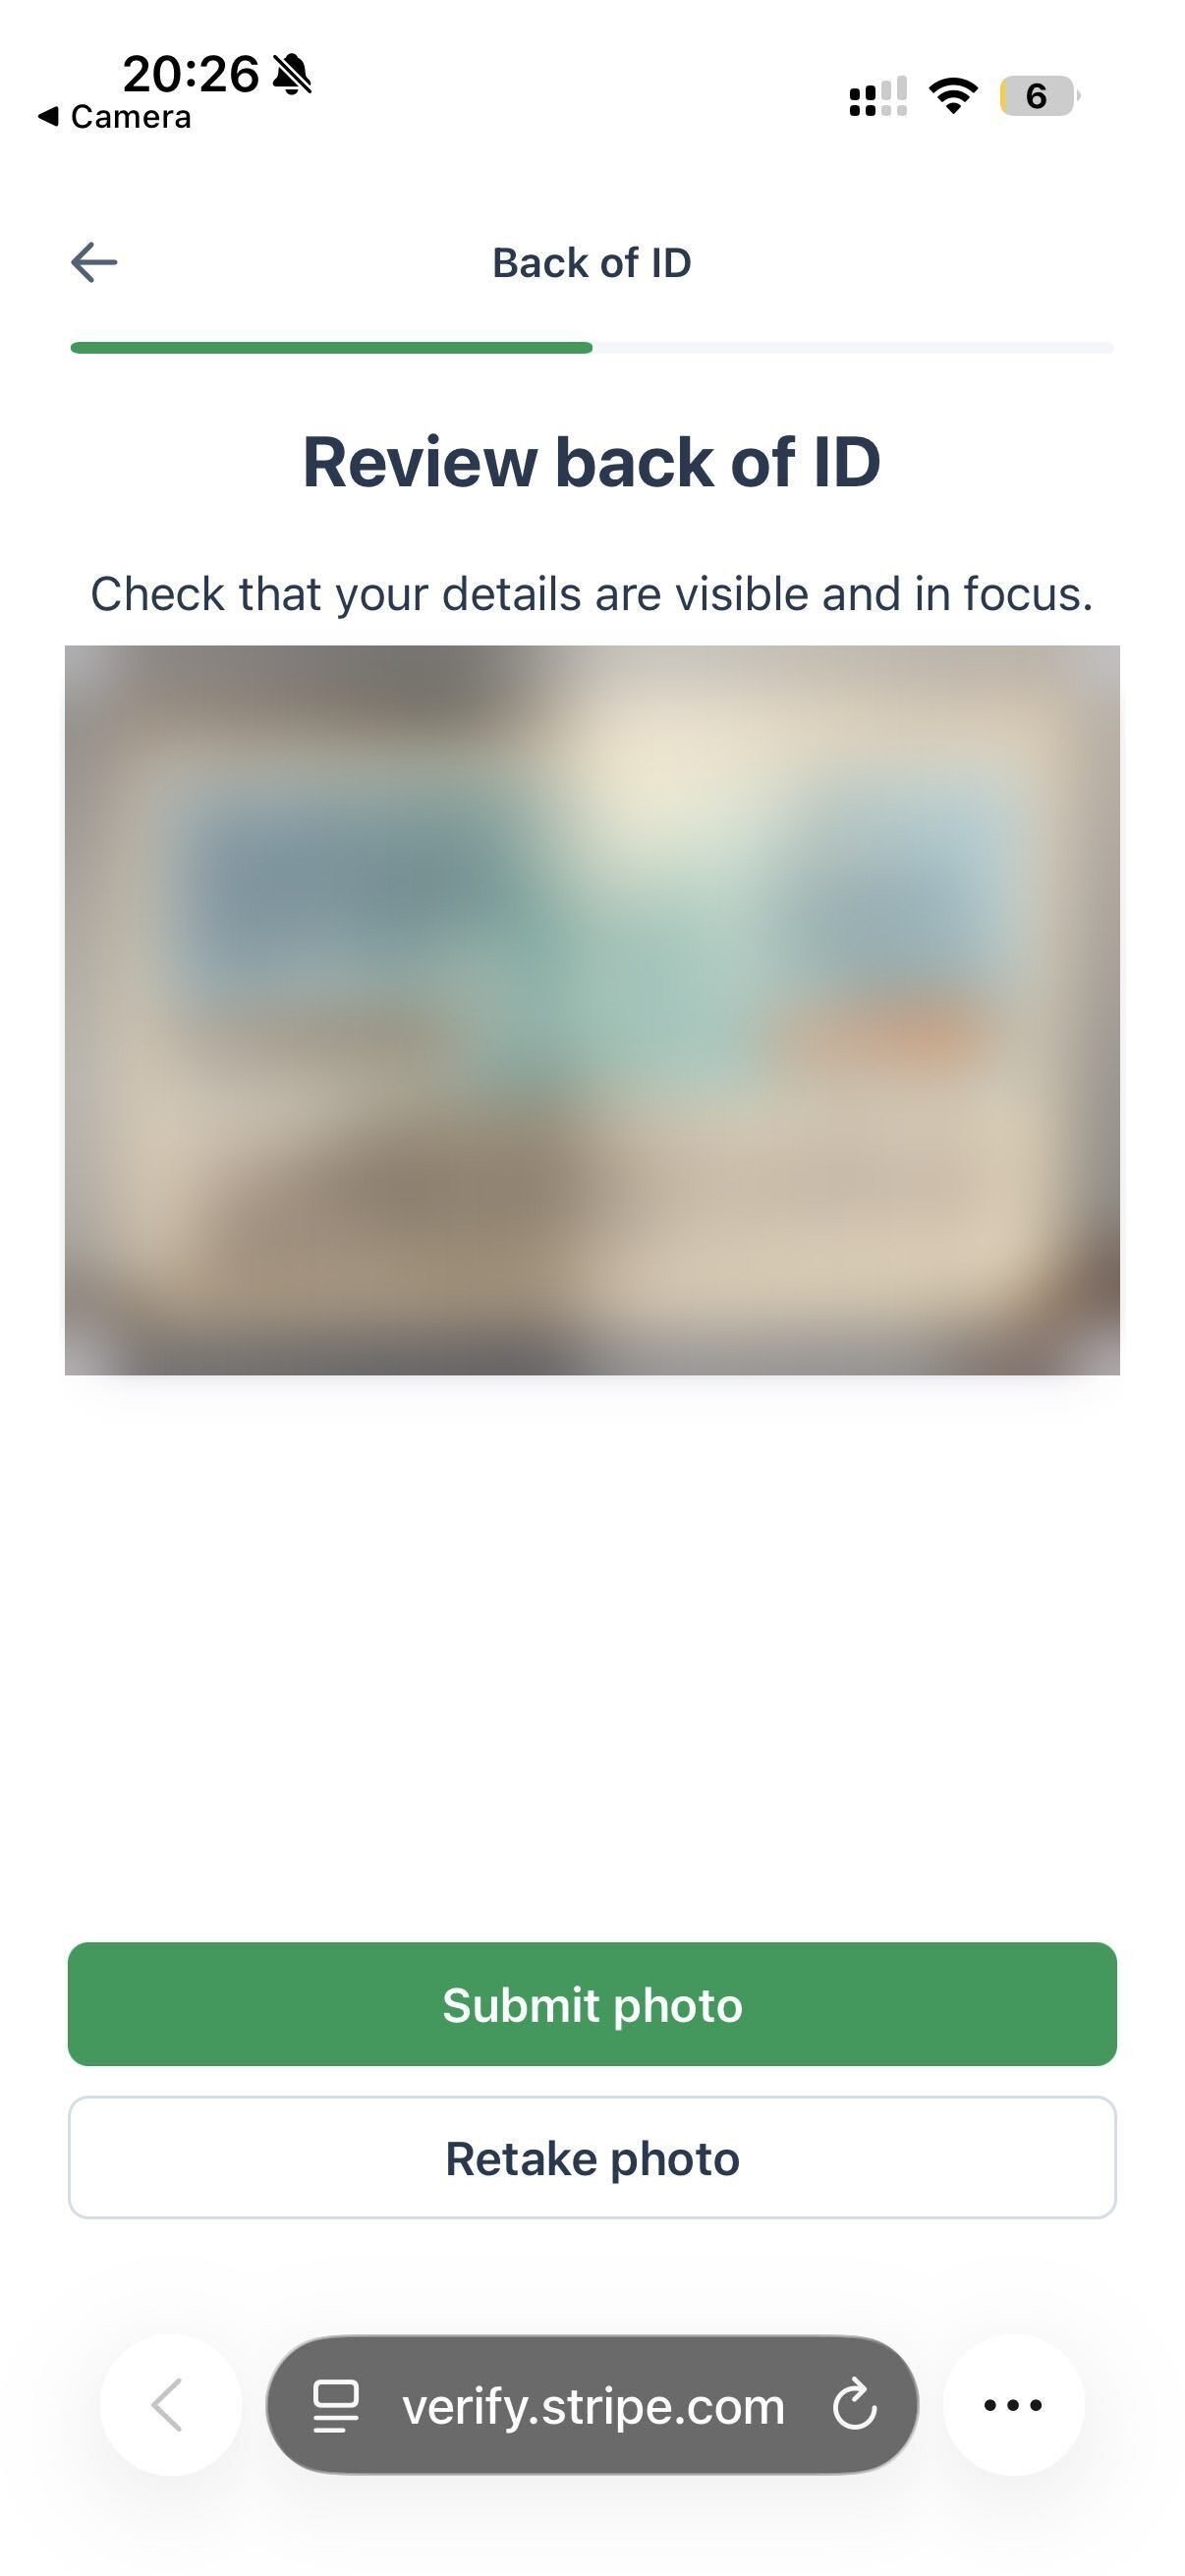
8
Consent to the selfie
A second, separate consent covers using the images to improve fraud detection. Declining it doesn’t affect the verification.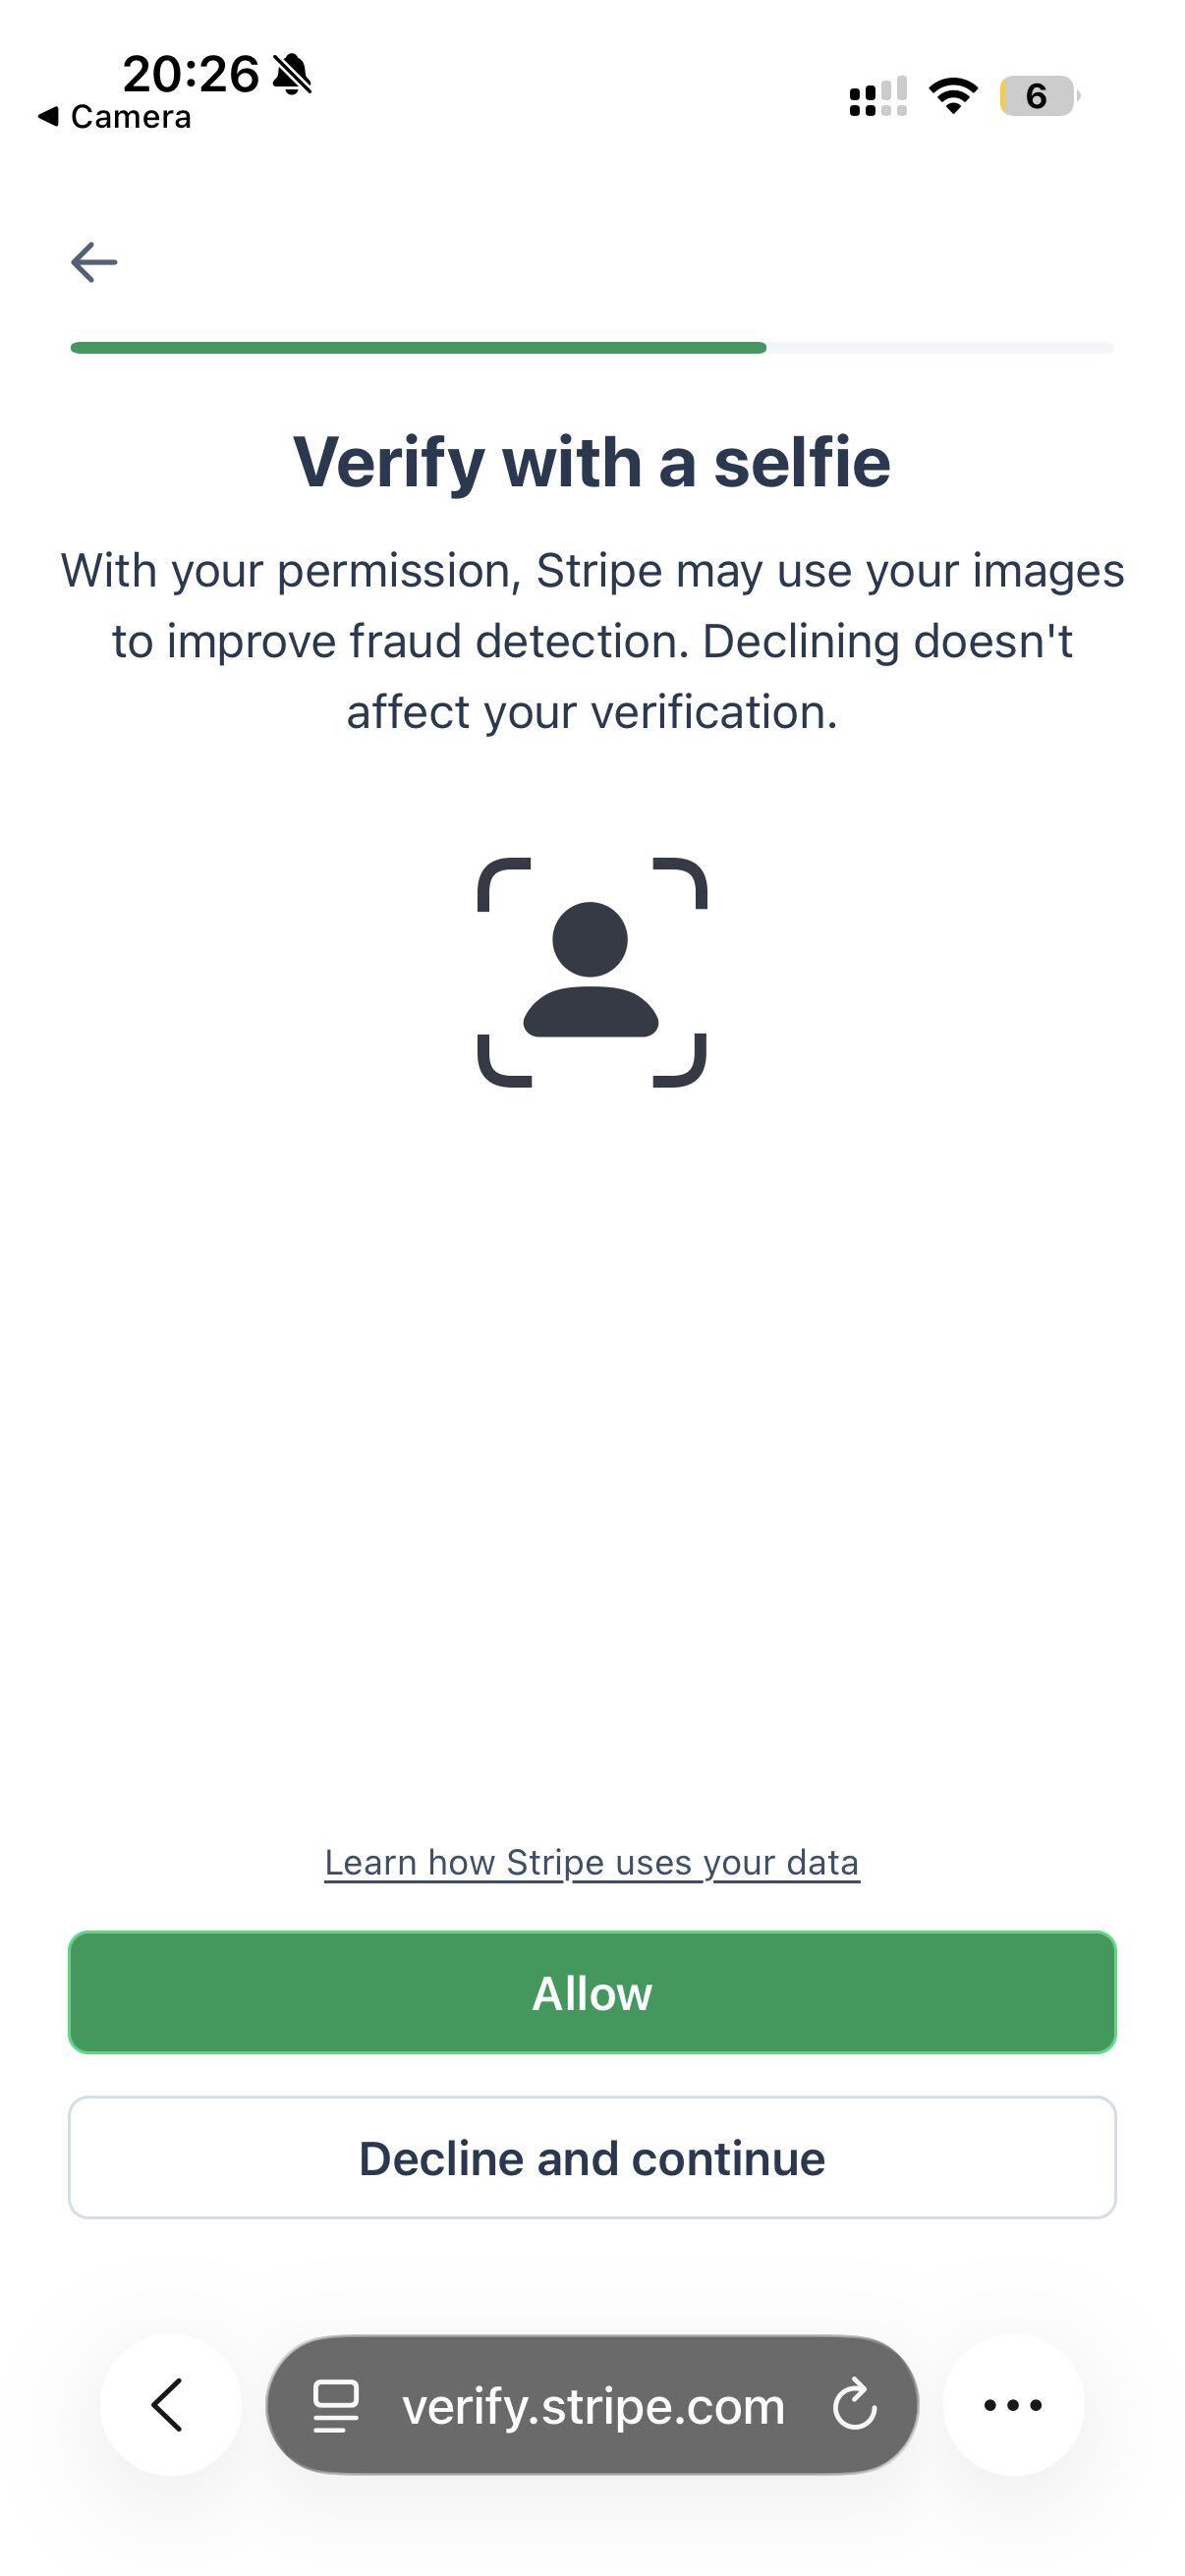
9
Take the selfie
The candidate turns their head to fill the ring — a liveness check, so a photo of a photo won’t pass.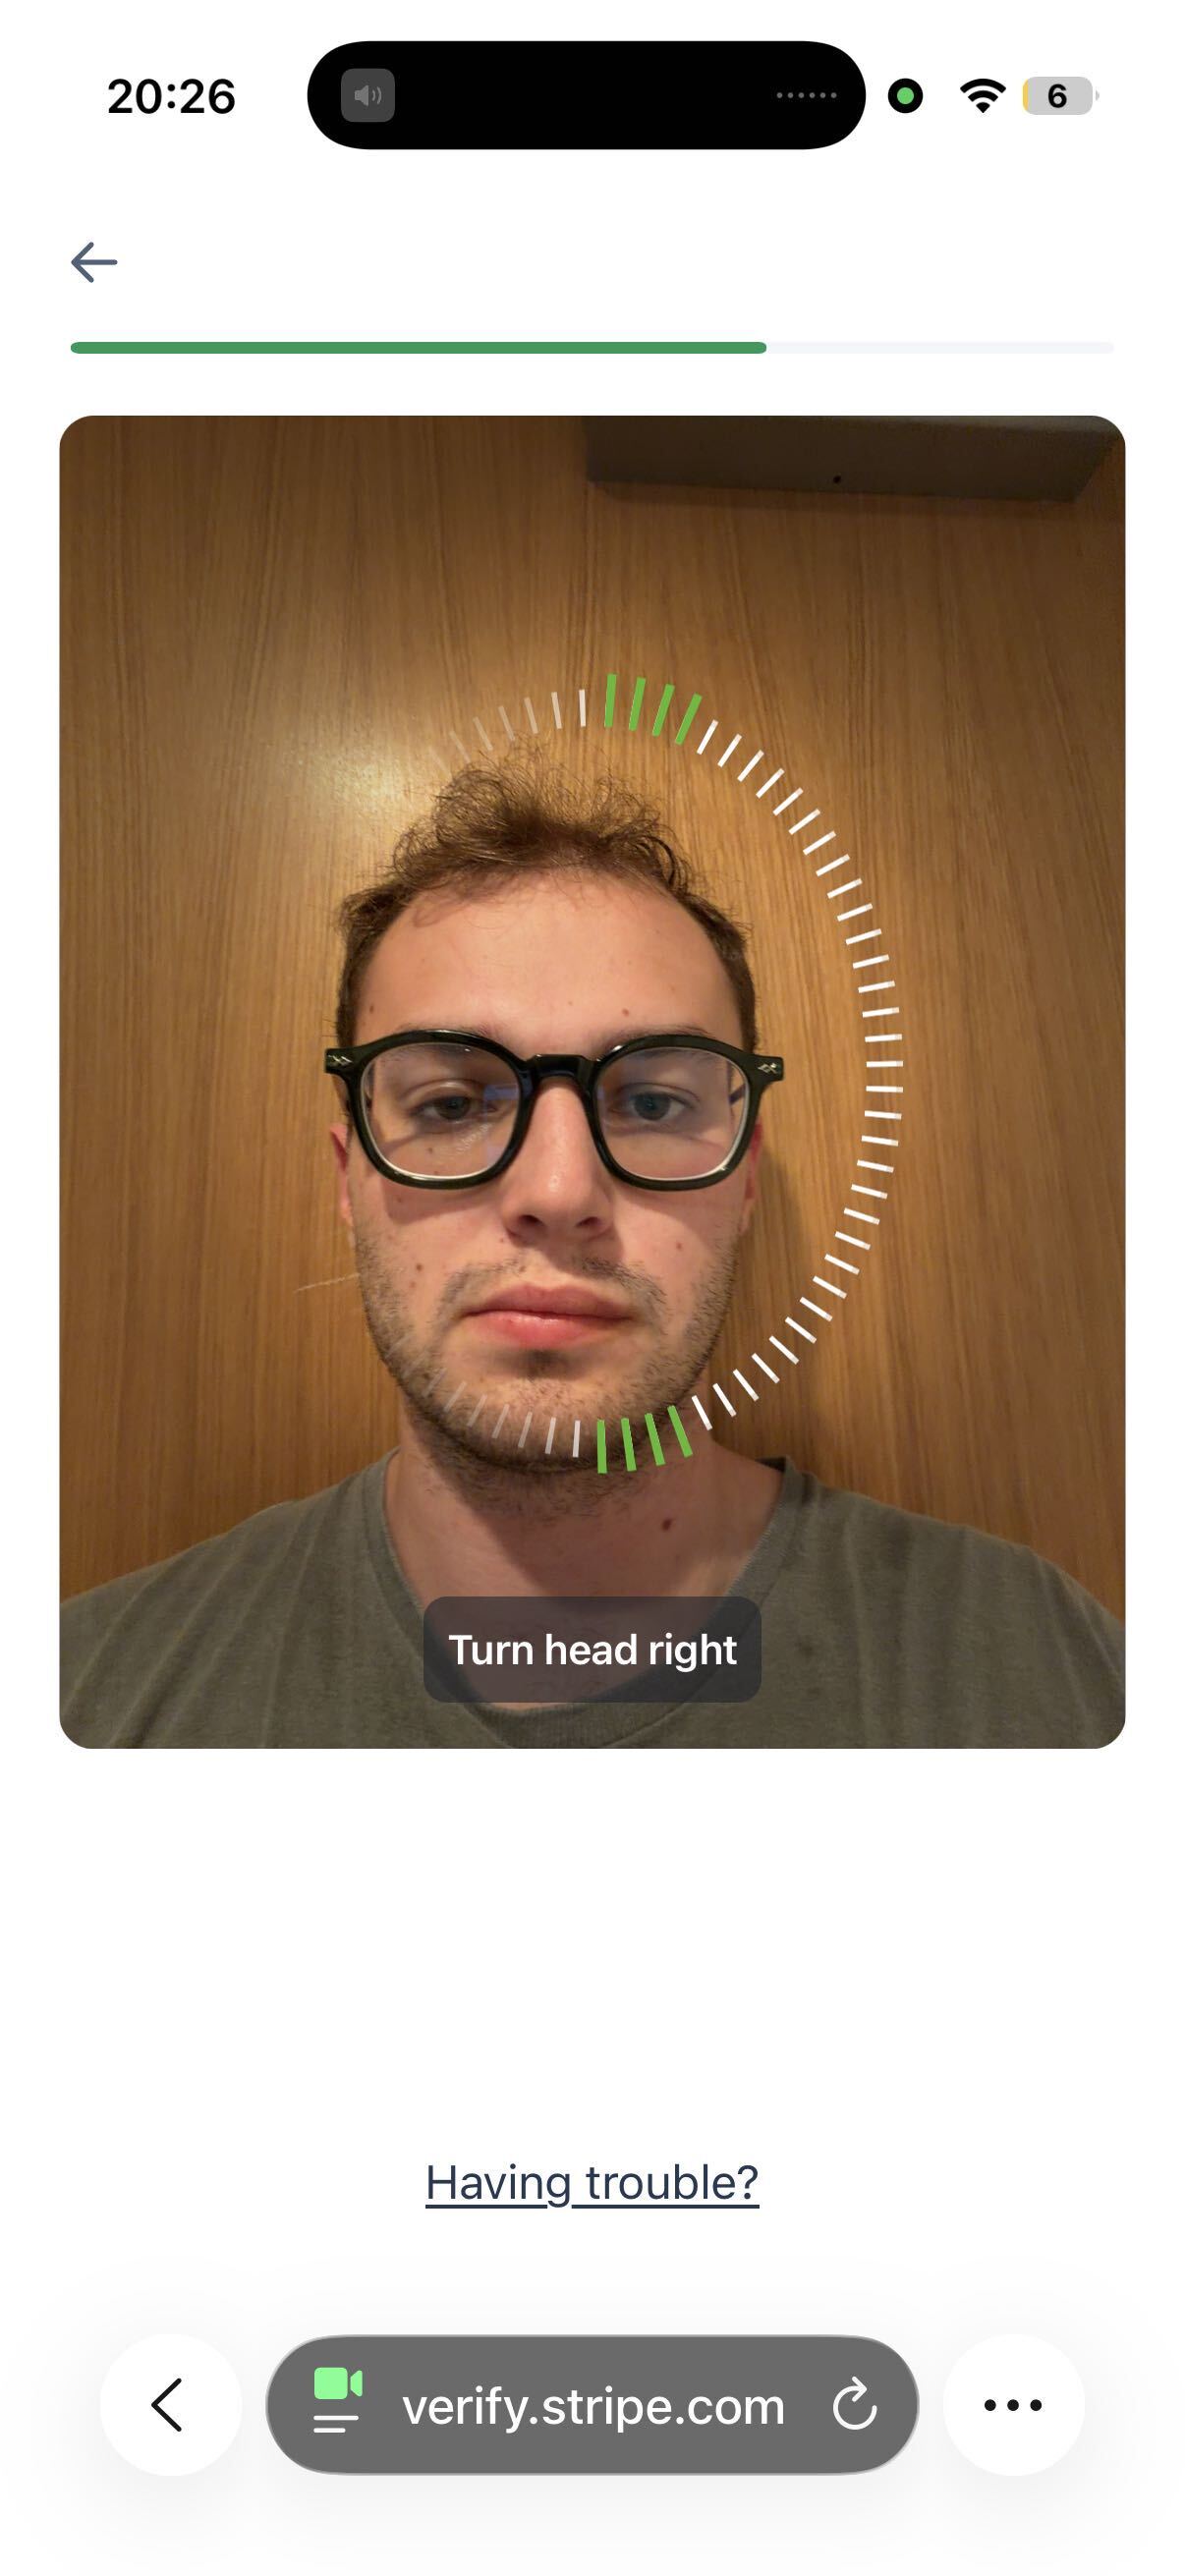
10
Done on the phone
The phone lands back on an Alex page telling the candidate to return to their interview.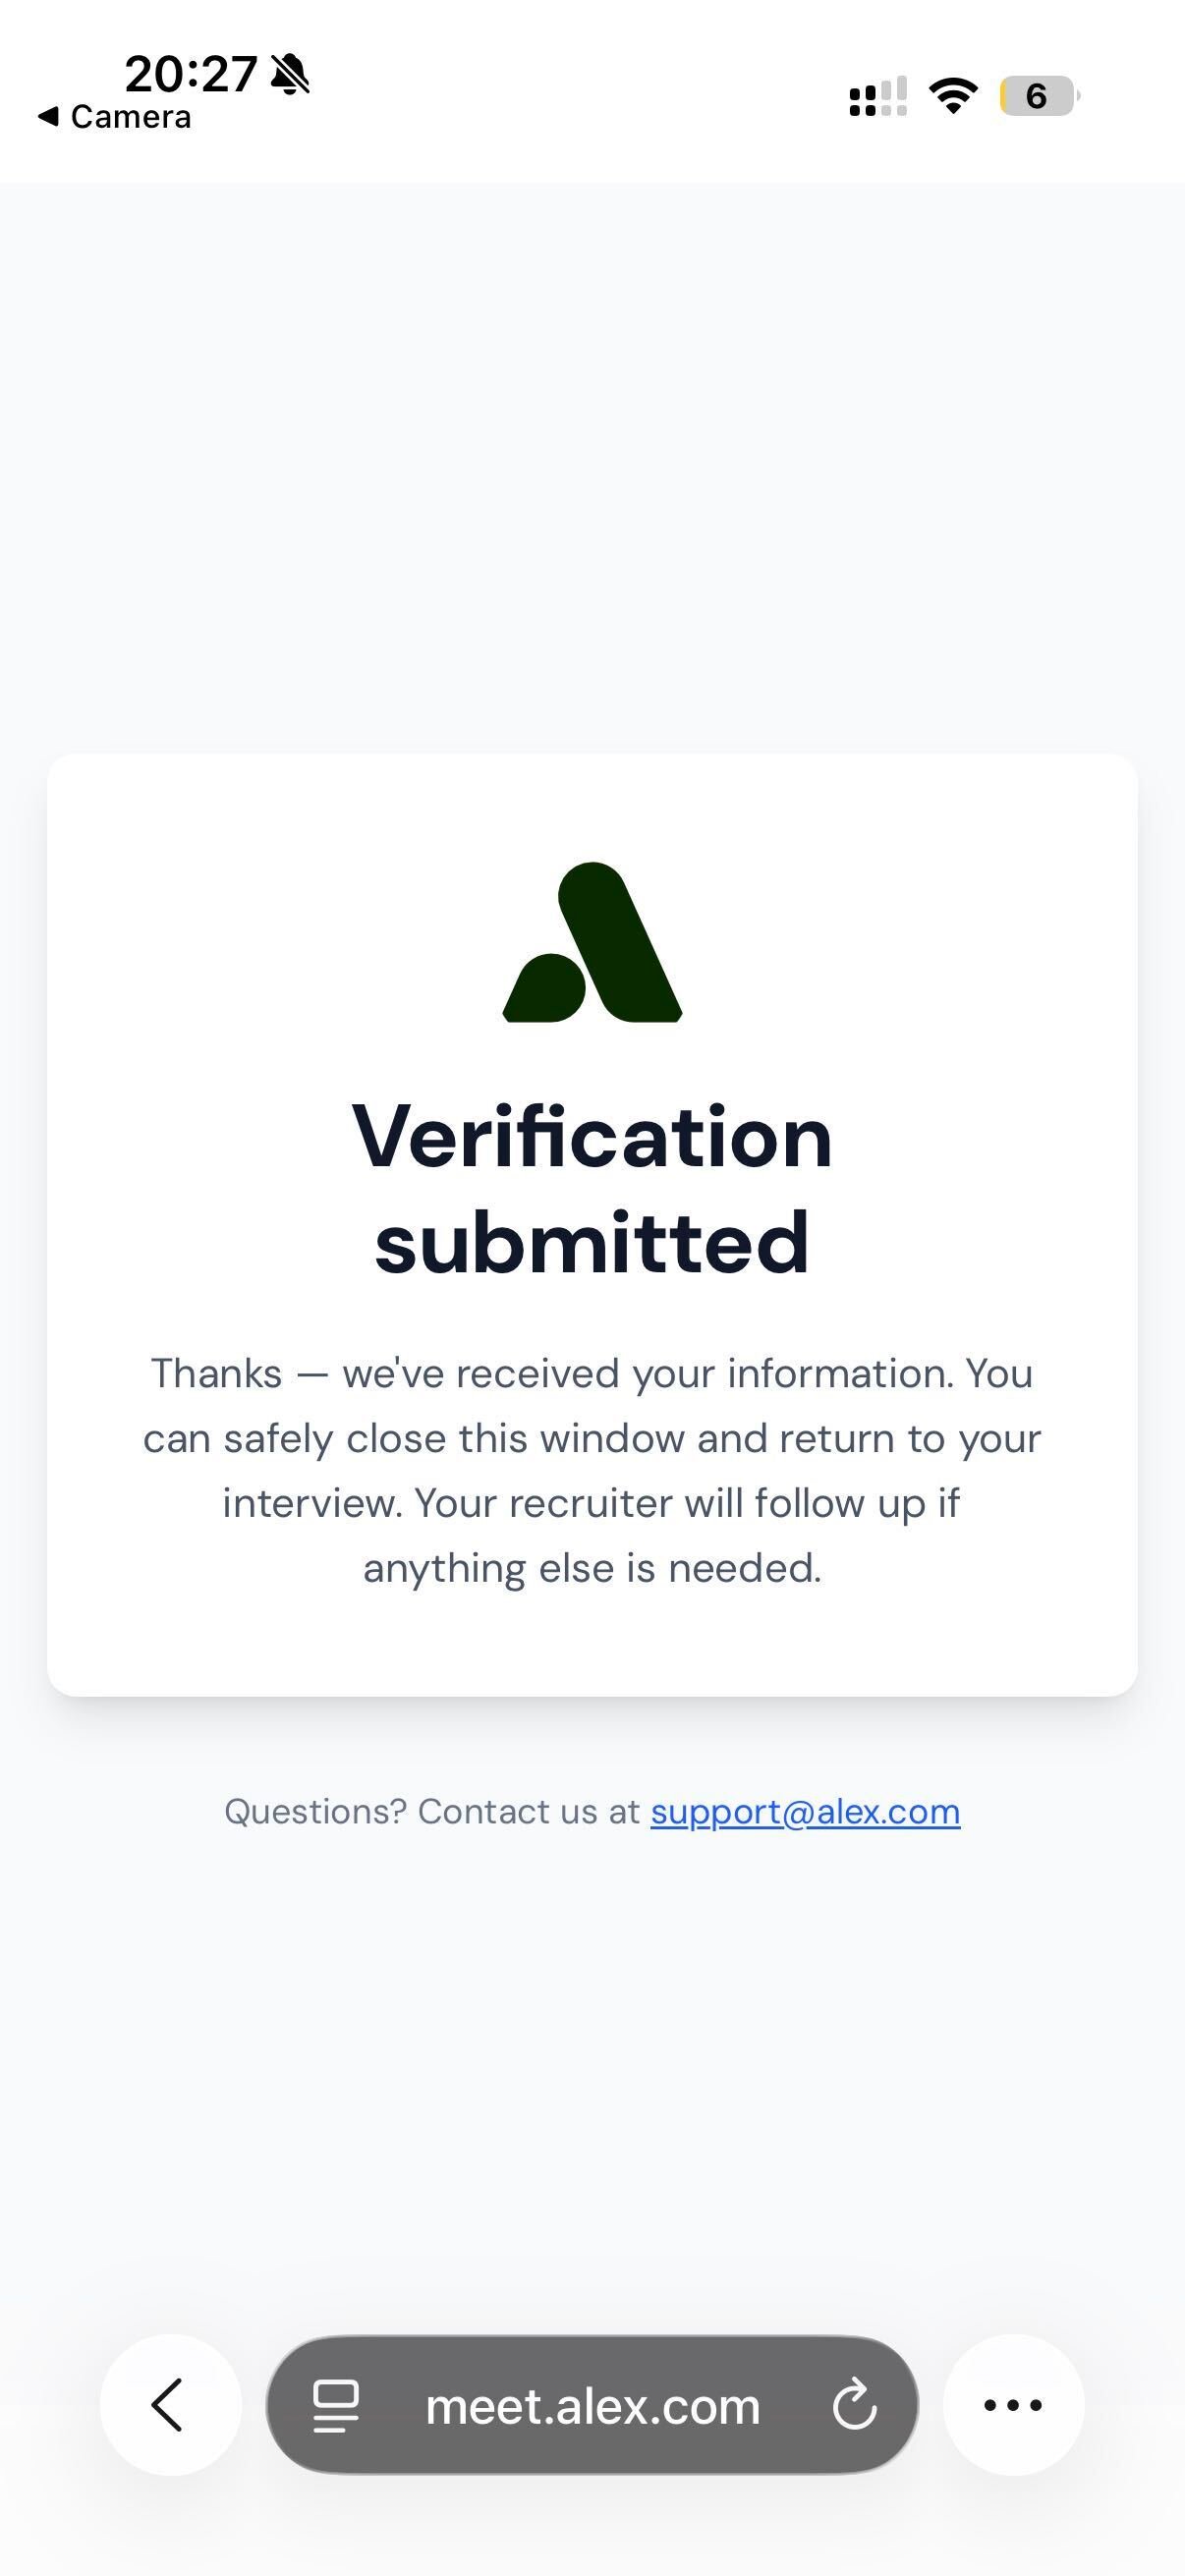
11
Back on the laptop
The laptop picks the candidate up where they left off and releases them into the interview.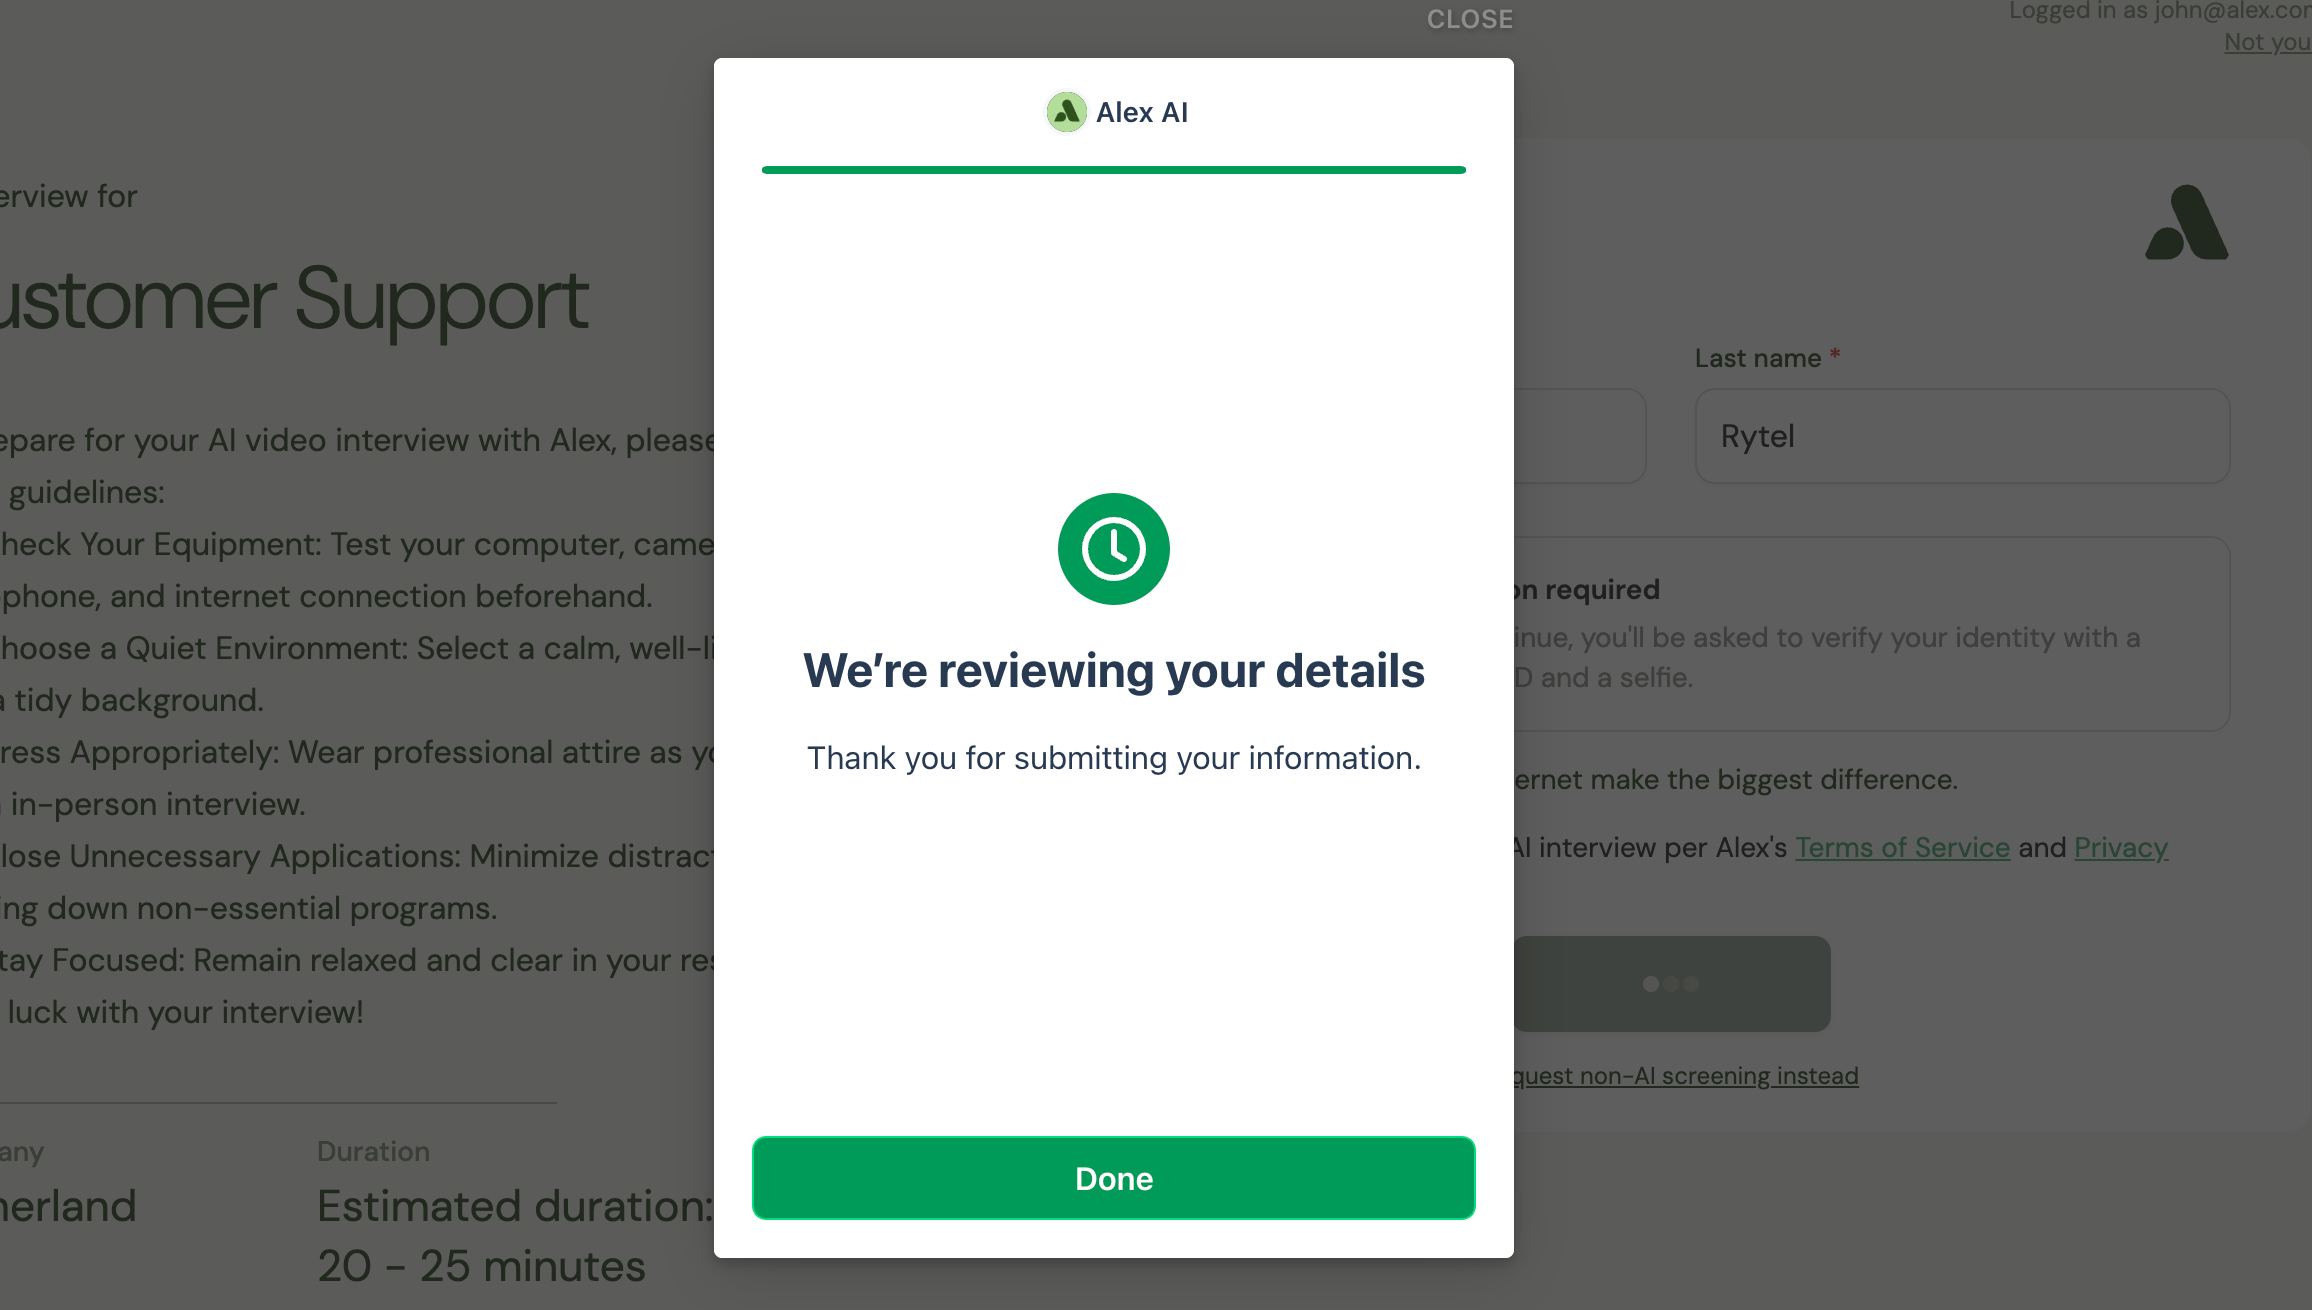
Verification outcomes
Every attempt resolves to one of four outcomes, and the same vocabulary is used by the report, the workflow conditions, and the message variables.A name mismatch never fails a verification on its own. Middle names, compound surnames, and formatting differences
make a strict name comparison too blunt to gate on — so the mismatch is surfaced as a check for you to judge, and the
document verdict stands on its own.
Validity window
A verification doesn’t last forever. Under Settings → Experience Settings, Identity Verification Validity controls how long a passed verification stays good — 180 days by default. The window is the single dial behind all of these:- Whether a candidate is asked to verify again before an interview, or waved through
- Whether ID Verified conditions in your workflows evaluate to true
- Whether clicking a verification link starts a new check or shows the candidate they’re already done
1 to require a fresh verification for every single session.
Reviewing results
On the report
The Verification tab shows an identity card with the checks that were run:Document
Passport, driver’s license, or ID card
Issuing country
Where the document was issued
Name match
ID name against the name on file
Selfie match
Selfie against the document photo
On the candidate
The candidate’s Verification tab carries a status badge — ID verified, ID pending, ID expired, Needs review, ID failed, or Not verified — with a countdown to expiry for verified candidates, plus a full history of every attempt.On your lists
Candidate and application lists offer ID Verification and ID Report columns, so you can scan verification state across a pipeline and open a report without leaving the table.The verification report
Every completed verification produces a shareable PDF that combines the identity result with fraud signals:- Key Results — a pass/fail checklist across the checks that ran
- IP Geolocation — where the verification link was opened from, including VPN, proxy, and Tor detection
- Timeline — when the link was sent, opened, and completed
- Fraud Screening — email, phone, IP, and digital-footprint signals (see Fraud Detection)
- ID Verification — the document type, issuing country, and match results
Automating with workflows
Triggers
When the verification came from an application workflow, the outcome fires on that same application’s workflow — so the branch that asked for the verification is the branch that hears back. If that workflow isn’t listening for the outcome, it falls through to your candidate workflow instead. Only one of the two runs, so downstream outreach never doubles up.
Conditions and filters
Two fields are available in Is conditions and in Filter by Candidate / Filter by Application:- ID Verified — whether the candidate is verified right now, asked as a freshness question (“verified within the last N days”)
- ID Verification Status — the resolved outcome: Verified, Needs review, Failed, or Not verified
Message variables
Writing back to your ATS
Workflow steps that upload a file to your ATS can attach either verification report variant, so the result files itself on the candidate’s ATS record automatically. Because the report is candidate-scoped rather than tied to a specific interview, it attaches cleanly from candidate workflows too.Link behavior
A few details worth knowing when you’re building flows around verification links:- Links expire after 7 days. An expired link tells the candidate to ask their recruiter for a new one.
- The verification is created when the link is clicked, not when it’s sent — so unopened emails don’t consume verifications.
- Clicking twice picks up where the candidate left off rather than restarting them, and a candidate who’s already verified goes straight to a success page.
Abandoned attempts
A verification that sits unfinished for 24 hours is closed out as Failed and fires the Identity Failed trigger — so a workflow waiting on an outcome never hangs on a candidate who walked away.Get access
Identity Verification is enabled per company. Reach out to [email protected] to turn it on for your team.